Willow Creek hosted the FILO conference recently and I had the opportunity to share some of our lighting learnings from the Global Leadership Summit 2017. What you are about to read is what I wrote to present from at FILO. This is by no means an article full of specifications, power draw, or DMX channels, but rather large-scale concepts and learnings we had along the way.
Sabers
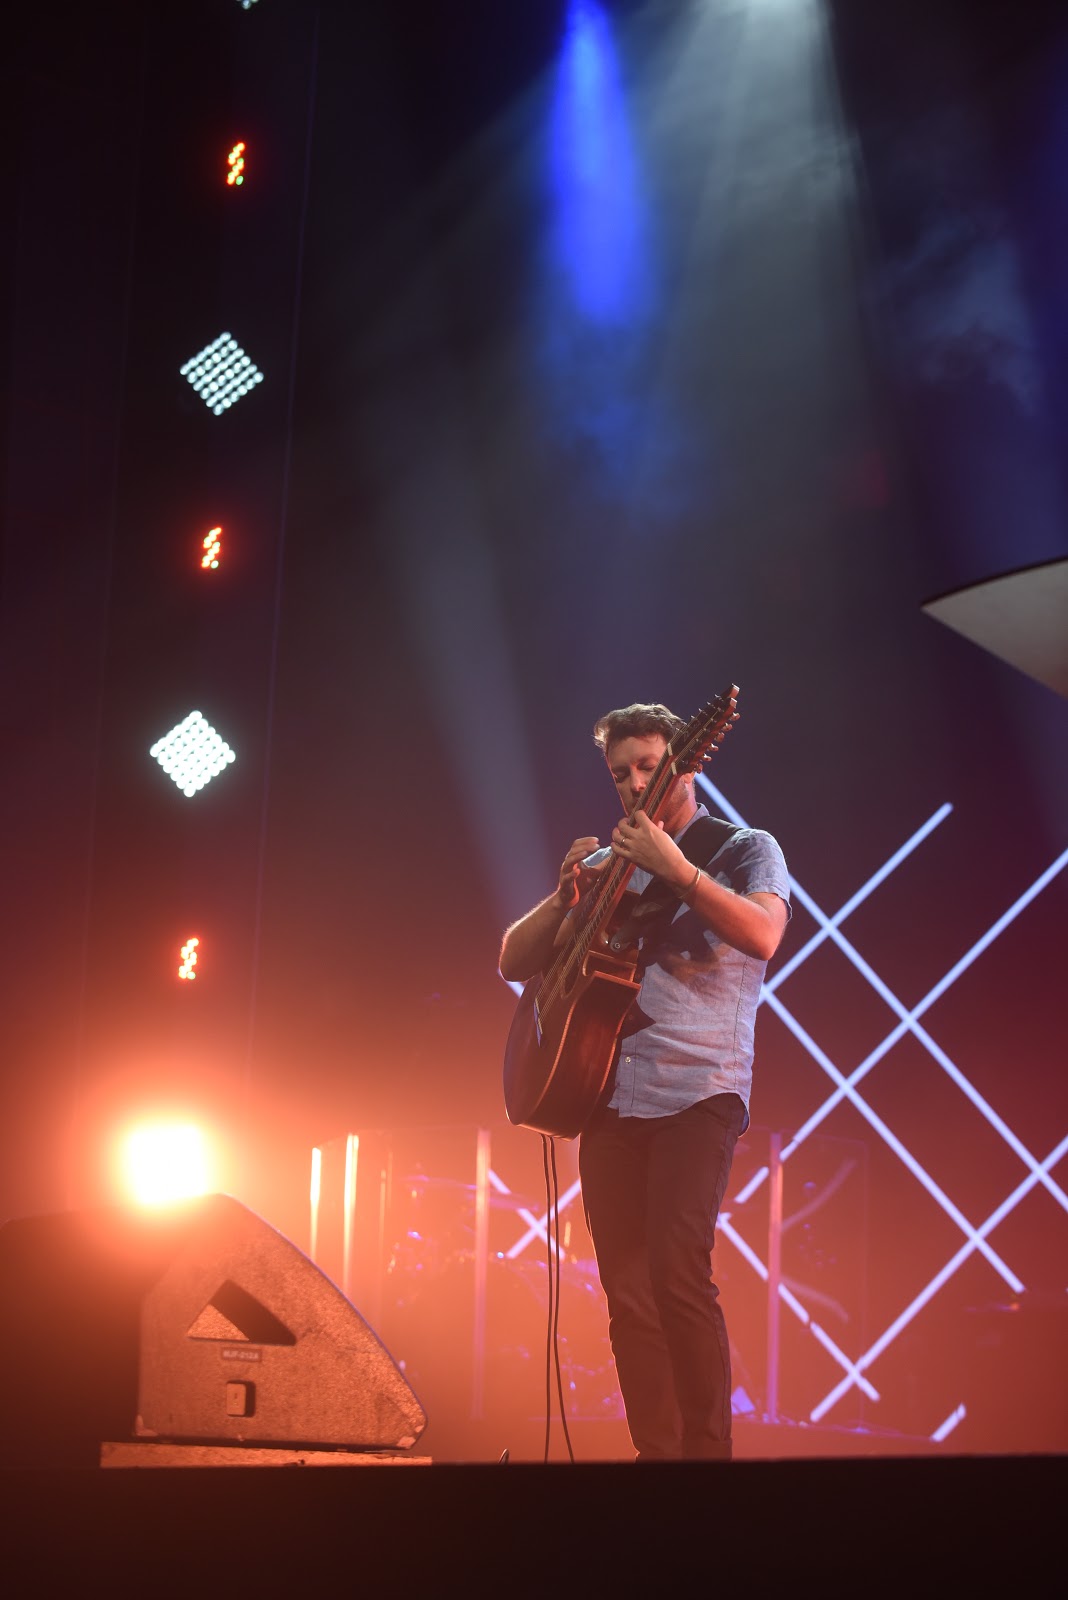
I'm not going to go into a lot of detail with the Saber fixtures, but I wanted to touch on them really fast, and specifically why we went with them instead of something like LED tape. When thinking through a set for the Global Leadership Summit (GLS), we design for a broadcast audience. Only a very small percentage of our audience is experiencing the event live in our auditorium. As we began designing the cross-hatched set pieces for the scenic, we wanted to figure out what would be a flicker-free solution. We landed on Saber fixtures rather than LED tape. Sabers allow us to adjust the refresh rate to eliminate any flicker, and gave us the ability to accurately set color temperature so they worked well with the cameras.
Though I love LED tape, LED tape isn't capable of providing the degree of controllability that we needed to keep everything playing well together in the system.
Lesson learned: Know when not to cheap out on creative led products.

LED Tape
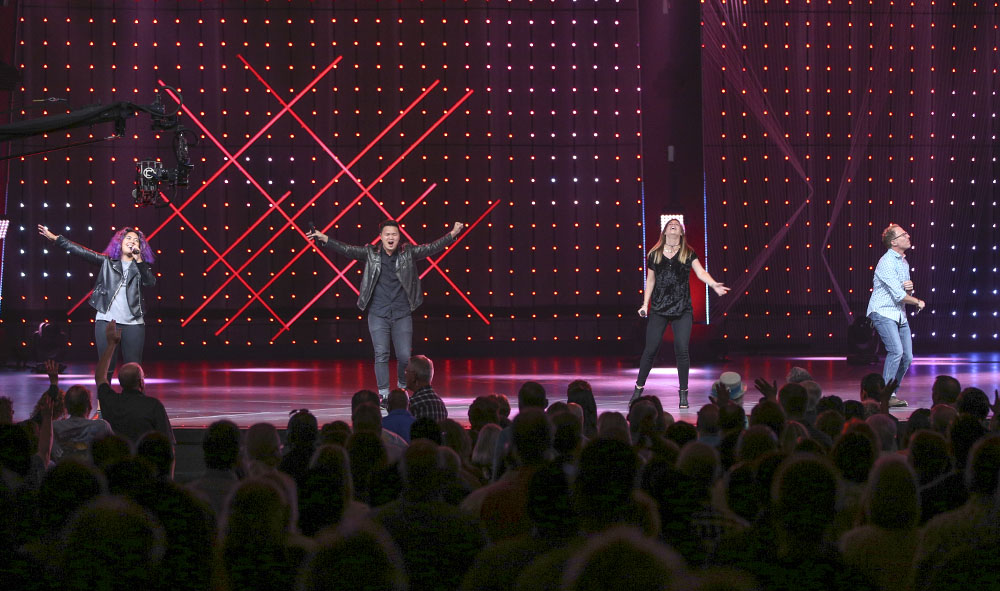
Speaking of LED tape, just because we didn’t use it on the cross hatches doesn’t mean we didn’t use it on the rest of the set. The 6 vertical trusses on stage all had custom made 1 meter led bars that were lined with Amazon's cheapest digital LED tape set inside Amazon’s cheapest LED aluminum U-Channels with a diffuser. We had a ton of area we wanted to cover and realized that the most cost-effective option was to make our own LED bar. All in all, these homemade bars ended up costing around $9 a meter. In retrospect, I wish we had upgraded the LED's a bit because the color reproduction on these wasn't accurate, which led to extra work trying to get them to match the rest of the set.
 HomeBrew
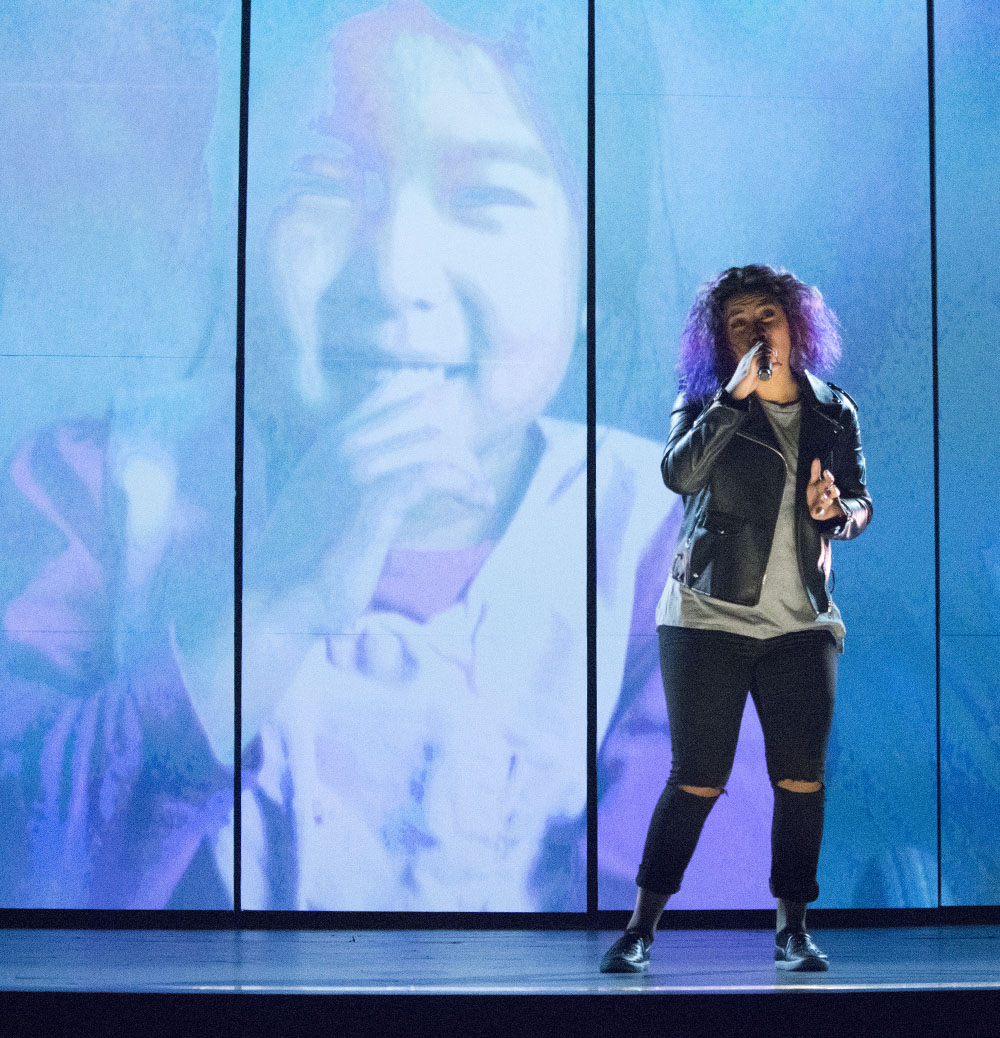
A lot of people ask me about "Home-brew,"our Low-Res LED Grid we have been using for about a year and a half now. It is a 12” pitch LED grid that is 75’ wide and 24’ tall, and is made of digitally controlled C6 LED Christmas lights with the plastic bulb cover removed. It was made for Christmas 2016 and what started as an experiment has now migrated into a lighting system staple. During GLS, we used it to add dimension and emotion to a few key moments. More about the construction of the Homebrew can be found here.
Lighting Rig
It would take a little too long to delve into the specifics of our full GLS lighting rig. One thing I can easily talk about is our learnings from what we call the three minutes of sadness, which is also the most asked question I get about GLS 2017.
Let's start by talking about how we set up the infrastructure for our lights. For a lot of our lighting rigs, we will drop power from circuits on the high grid instead of running cable on the floor and up the scenic in order to create a cleaner look on the floor. For the GLS 2017 set, we were using Ayrton magic panels which by default when they lose DMX they power down after a few minutes.
In the break between Sessions 5 and 6 there was a pretty large stage turn, and when we finished that we noticed Truss #1, located far stage right, was not getting DMX and the fixtures had gone to sleep. So we started troubleshooting the issue. Doors were already open for Session 6 at that point and we were getting close to starting. That meant that we were running around like crazy people trying to fix the problem.
We thought we had narrowed down the problem, and began moving towards a fix. At that point, the session had just started. This is when the first major learning happened. Against our better judgment, we kept working to fix the problem. We ran a new cable and swapped it in, the fixtures woke up and after a 20-second calibration they woke back up. They didn't quite wake up as happy as we'd hoped they would...Next thing I know, the Ayrton Magic Panels were doing a mindless uncontrolled zombie-like dance, throwing colors around the room like we were back in the disco era. I quickly pulled the DMX cable - yet they continued to spin, unconcerned with the lack of DMX.
Next thing I know, I was already halfway up 5 flights of stairs to the high grid to unplug the power.
Learning number 2: We had 2 circuits run to that truss that came from different locations in the high grid and happened to be unlabeled. I had no way of knowing if I was about to kill the zombie Magic Panels or the working Mythos fixtures on that truss. In the grand scheme of things, losing the Mythos temporarily wasn't as bad as the Magic Panels continuing to spin, so I grabbed the first power cable going to the truss and unplugged it. And wouldn't you know it? The Magic Panels were still spinning. A ladder and a 60’ climb later, I got to the second circuit and pulled the power. Finally, the zombie lights were dead again.
Lesson Learned: Once the event starts, fixing needs to stop. If there is any chance of making matters worse, admit defeat and fix it afterward.
Labels are crucial to all parts of your system. My previous documentation that showed cable paths did me very little good in the heat of the moment, but a sharpie on gaff would have helped shave crucial minutes off of the process.
 Projection and D3
While not directly scenic, there was a lot of consideration taken for the moments we knew needed projection during the summit. We wanted a screen that was built of rotating panels that someone could walk through for the opener so that determined much of the path we went down. We had quite a few conversations regarding standard throw distances, brightness, Front Projection versus Rear Projection and lensing. The artistic concept for the opener meant we needed to use front projection, and then one of the creative elements required us to shoot the projection at a pretty extreme angle to shoot around an actor on an elevated treadmill in front of the screen and be clear of the projection path. We ended up using 3 20k projectors that were converged and warped using a combination of the Barco Warp tool and our D3 Media Servers warp engine.
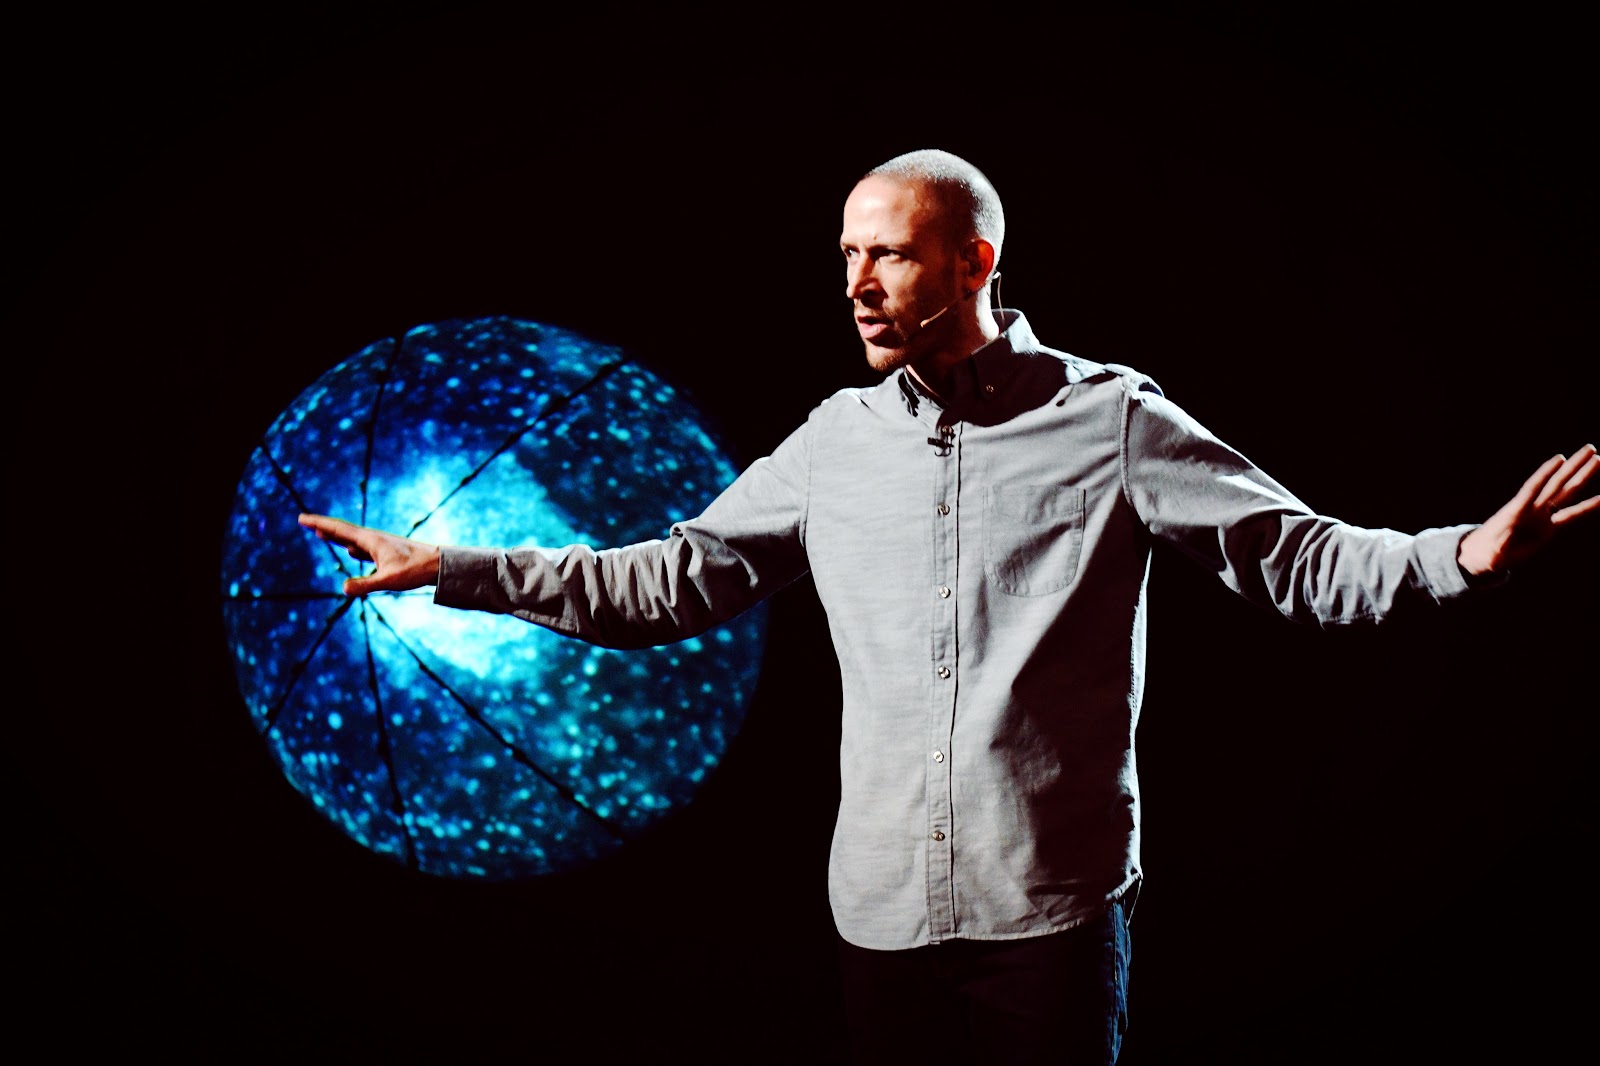 We also needed 2 smaller projectors shooting inside 4’ domes for a separate creative paced titled "Quantum Entanglement." The major challenge we faced with this was that we needed a way to get the projection set pieces out on stage quickly while ensuring consistent alignment and warp. Jim built a rolling frame out of unistrut that held the domes and also had a post to hold the projector perfectly centered on the dome so that everything could travel in one piece.
Lesson Learned: Creative problem solving is key. Learn the target, and find the best way you can hit it.


