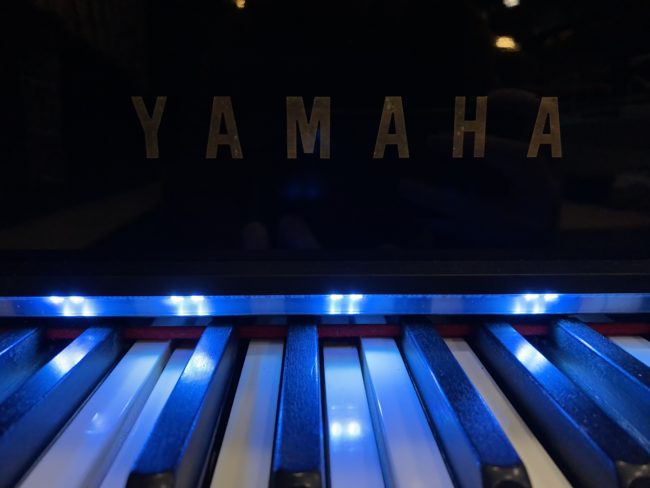
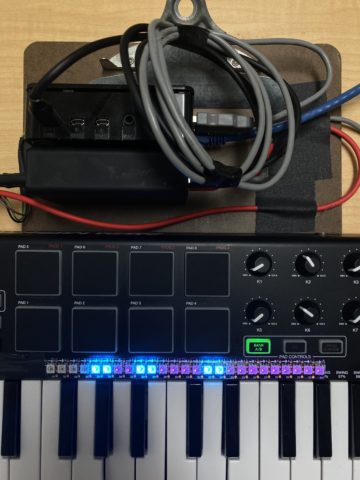
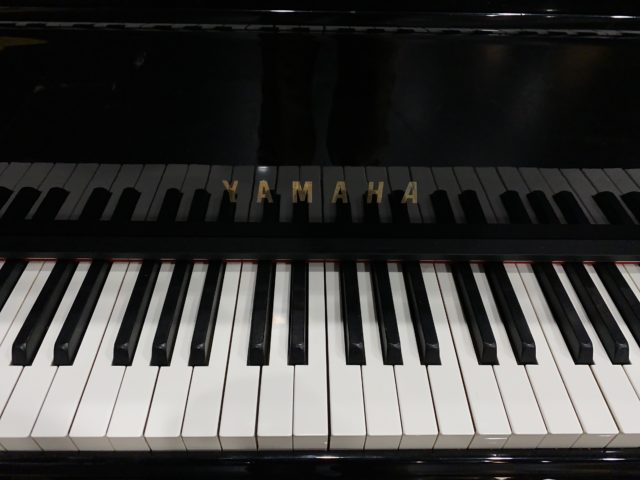
A few weeks before Christmas rehearsals, I was asked to help create a custom light for the opener. Individual piano keys needed be illuminated when pressed. I started with a portable development kit that would allow me to write and test software without bringing the grand piano home. I attached a Raspberry Pi, MIDI controller, LED tape, and power supply to a clipboard. To meet the short deadline, I took several code fragments from micboard. These provided basic web, configuration, and logging functions.
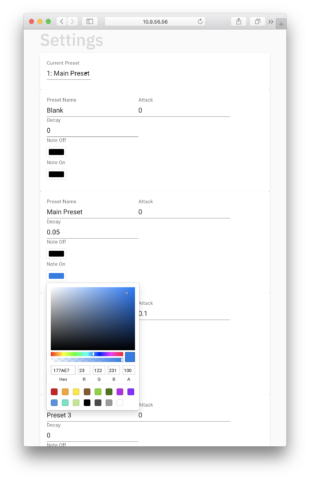
All MIDI processing happened on a Raspberry Pi. A python script parsed the MIDI data and updated the LEDs 50 times a second. The pi also hosted an admin page that allowed the lighting team to remotely edit color presets.
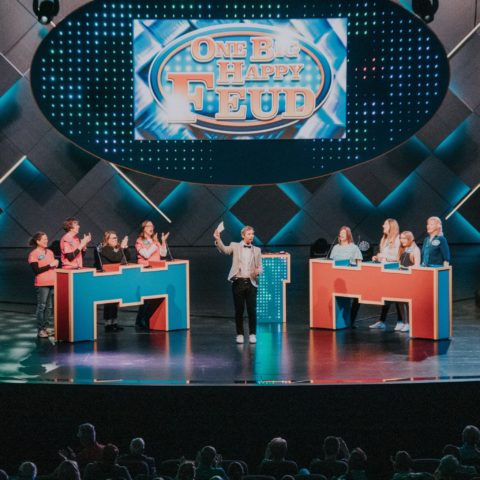
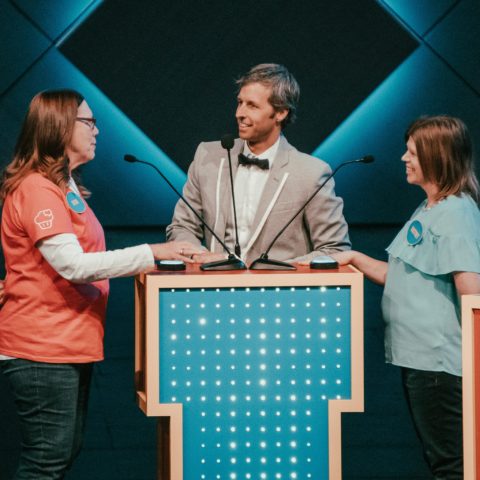
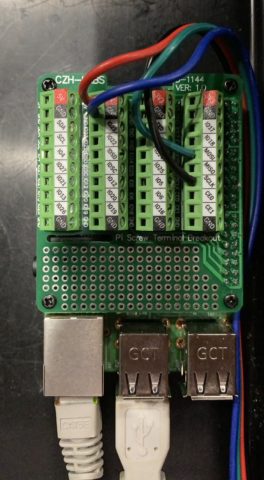
This isn’t the first time we’ve used a Raspberry Pi. Last spring, we made a PoE powered button box for a game of “One Big Happy Feud”. A script triggered audio and lighting cues on our D3 media server when contestants pressed buttons on stage. A terminal block module made it simple to connect buttons, LEDs, and power to the Raspberry Pi. We reconfigured our gameshow controller for the piano, swapping out the buttons for LED tape.
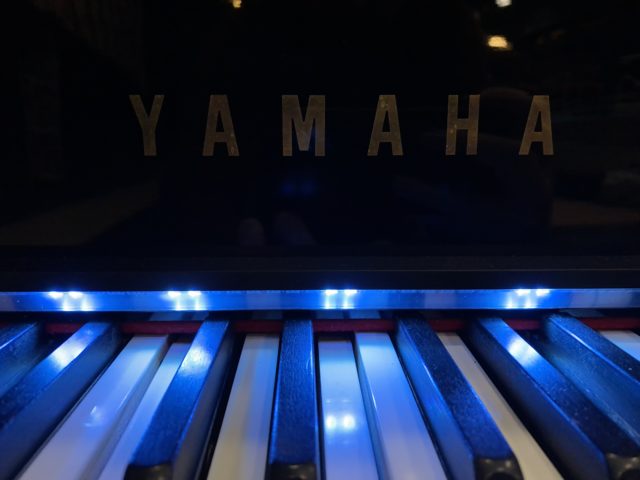
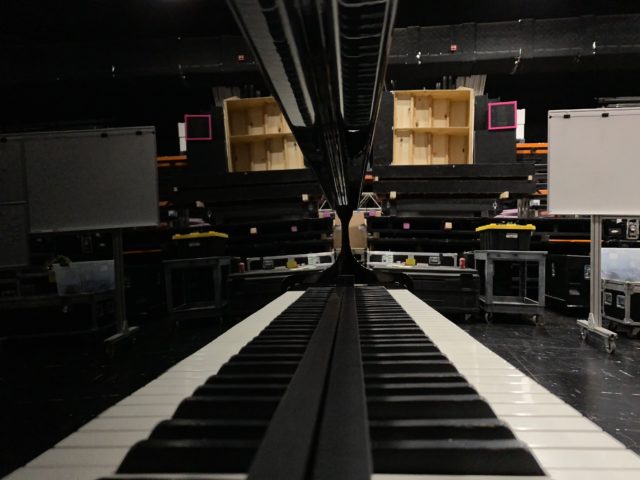
We used tape with 144 LEDs per meter. This pixel density yielded 2 LEDs per key, a perfect match. Most keys and LEDs lined up. For the few that didn’t, the offset was imperceptible while the piano was played.
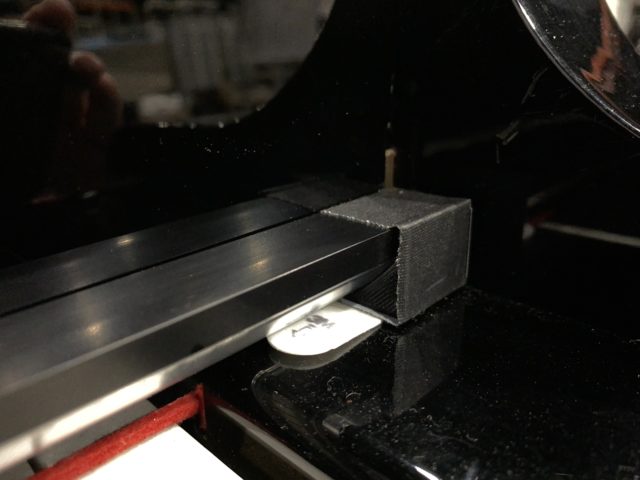
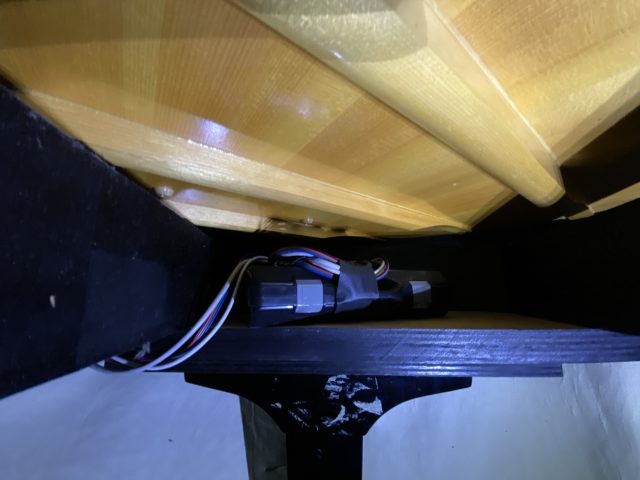
The LED tape was placed in aluminum angle from our Lakeside footlight project. For a seamless look across the keyboard, two pieces were tapped and joined with threaded rod. 3D printed brackets and command strips held the light bar at the correct angle. It was a tight fit, but under the piano’s soundboard and rear leg, we were able to fit a MIDI splitter, Focusrite audio interface, and the Raspberry Pi.
Much of this projects testing and troubleshooting took place on stage between rehearsals. The code isn’t as stable as I’d like it to be, but it got through most of the Christmas rehearsals and services. It is available on GitHub for those interested.

