Studio Lighting At Home
Hello my name is Jordan Monson and I am the Lighting director here at Willow Creek Community Church, I also do a lot of video work on the side.
Since the onset of the Covid-19 pandemic a lot of us have been filming service elements, worship, and sermon videos in our homes, and it looks like that is not changing (at least in our area) any time soon.
I thought it might be helpful to spend some time talking about how we can up our game a bit and make a decent relatively low cost studio for filming at home.
We are going to focus on lighting in this post. You can check out our video and audio articles for more information on those areas.
Lighting
A good looking video is heavily dependent on good lighting. There are many options for lights and ways to set them up to get different looks for your video, but for this article we are going to focus on a 3 point lighting setup.
There are a ton of lighting options, I will link what I use later on, but you can also look at the lighting gear forum to get some other ideas.
3 Point Lighting:
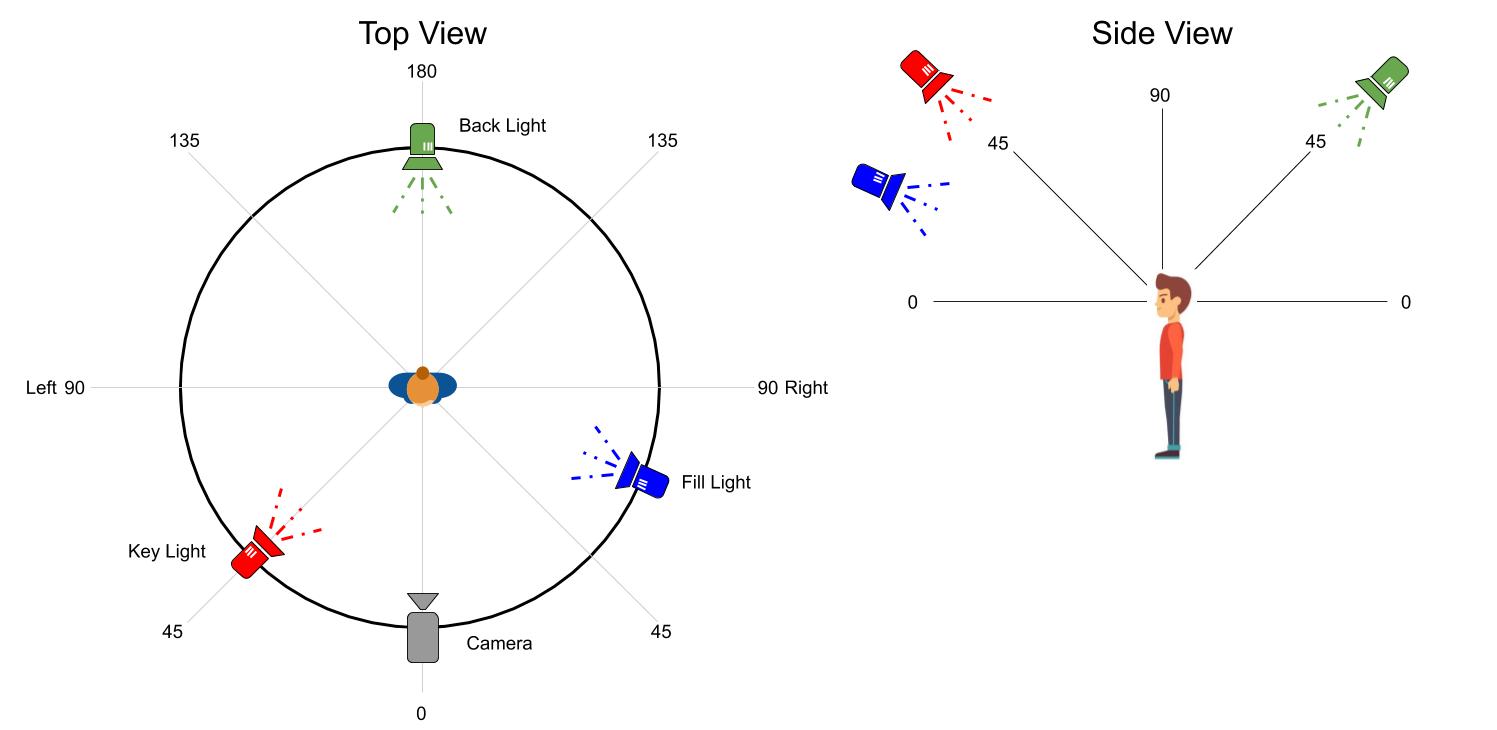
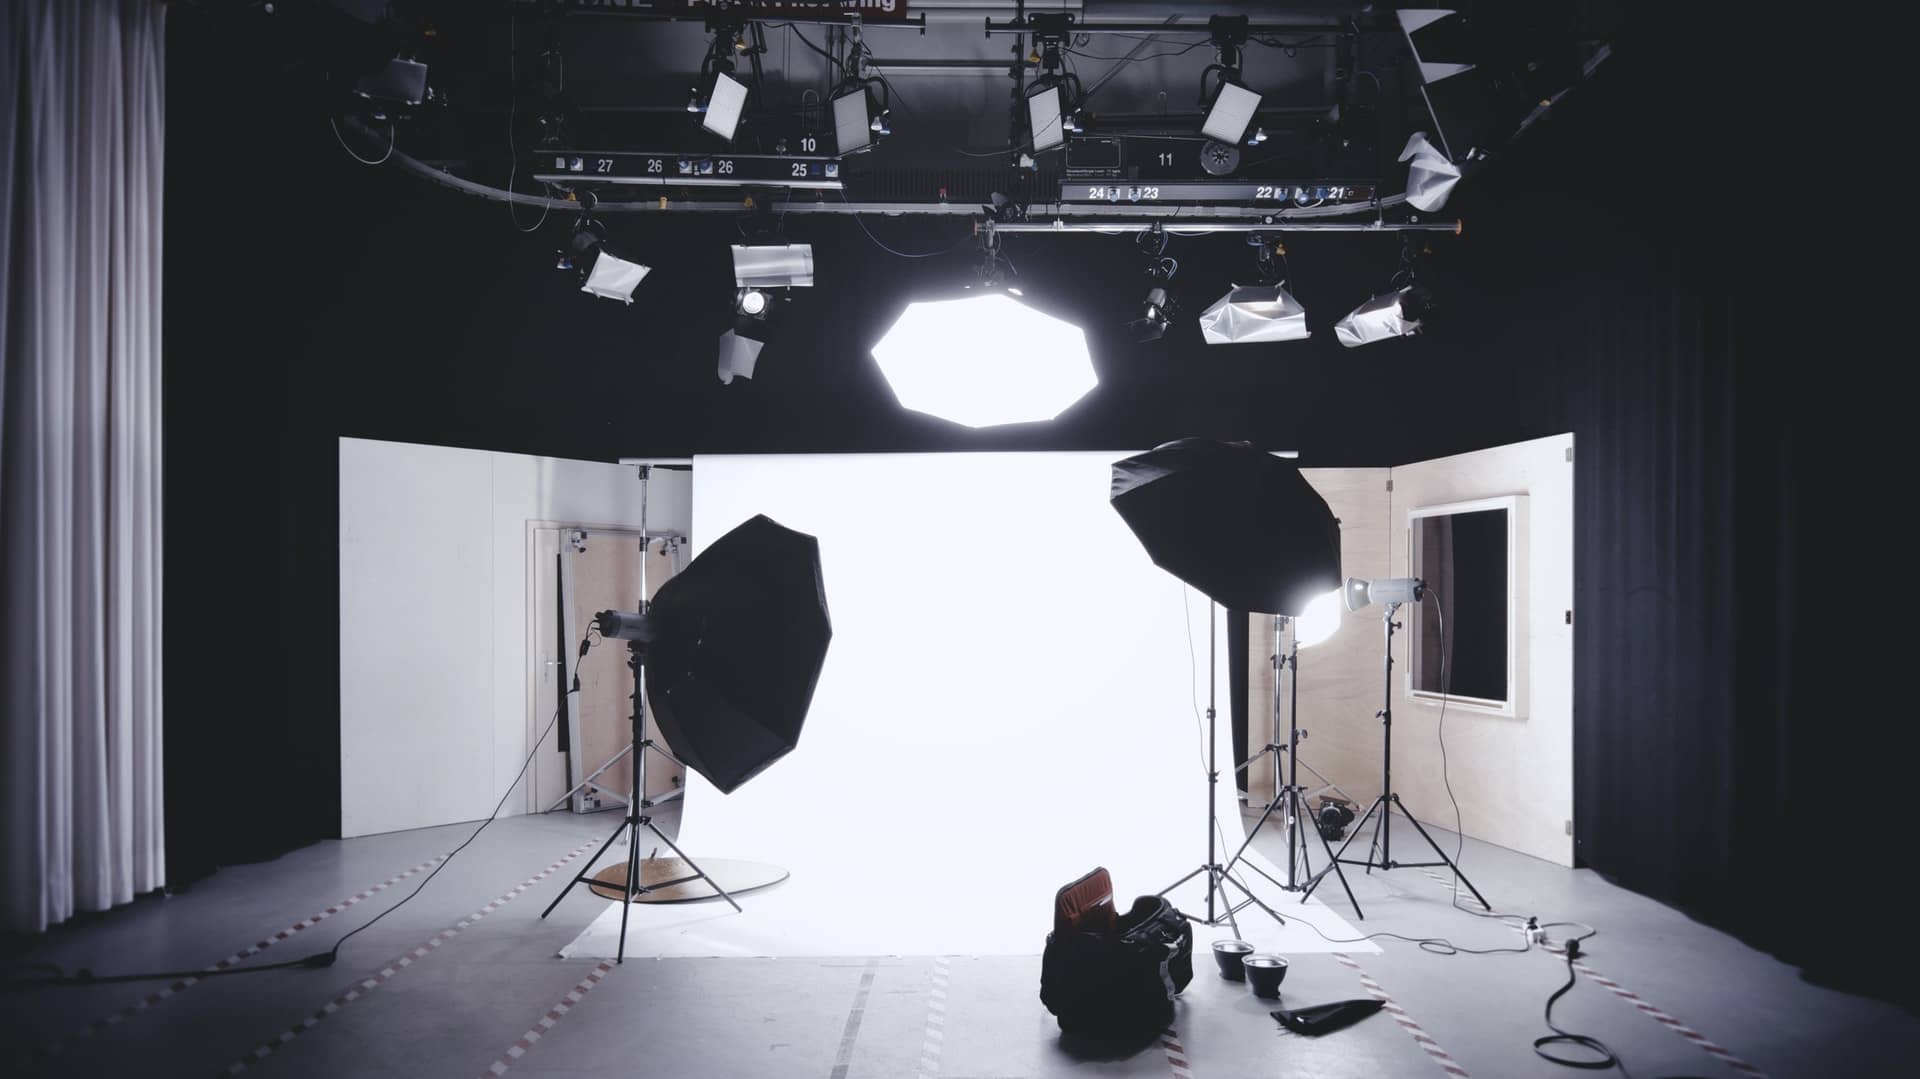
Three point lighting is the most common setup for video lighting. It gives a well balanced light the subject, creates pleasing shadows, and pulls the subject away from the background.
Below I will explain the different angles, and you can see in the diagram above how the setup looks.
Here are the different parts of a 3 point lighting system, as well as, where the go in relation to your subject/camera.
Key light - This is the main light source for your setup, it should be the brightest of your lights, and is typically 45 degrees to the left or right of the camera as well as 45 degrees above your subject. In a home studio getting your light high enough is often difficult, but do what you can with your space. Having a way to soften this light (we will go over that more in the modifiers section) is helpful to be able to control shadows on your subject's face.
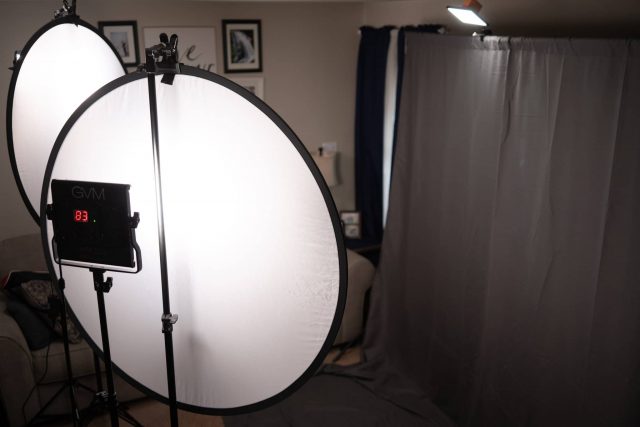
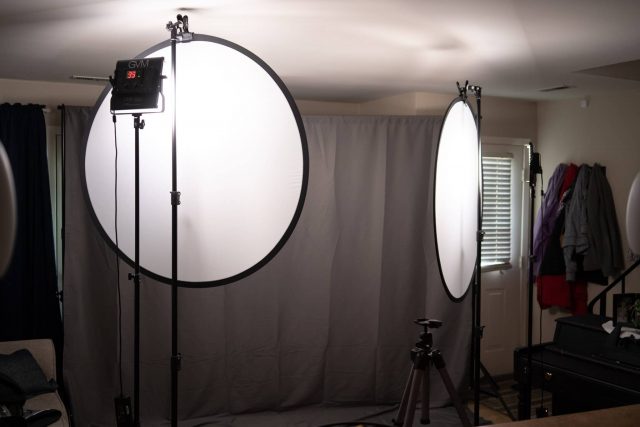
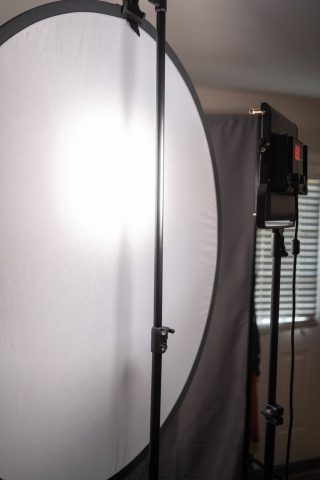
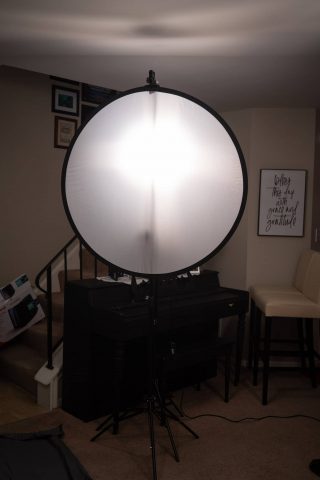
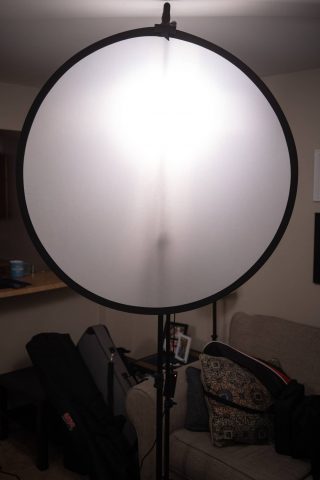
For my key light, I use a GVM 480, with a translucent Neewer 43 Inch multi-disc as a modifier to diffuse/soften the light
Fill Light - This light is used to fill in the shadows caused by the key light. It is normally somewhere between 45 degrees and 90 degrees to the opposite side of your camera as the key light, so if your key is to the left of the camera, the fill would be to the right. For height it can be anywhere from 0 degrees to 45 degrees. You would also normally soften this light as well.
This light should be around half the brightness of your key light.
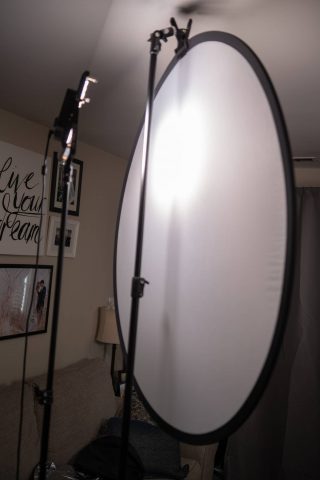
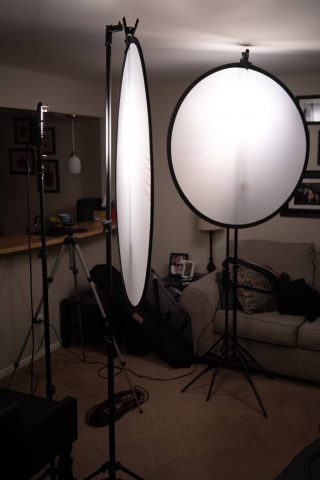
For my fill light, I also use a GVM 480, with a translucent Neewer 43 Inch multi-disc as a modifier to diffuse/soften the light
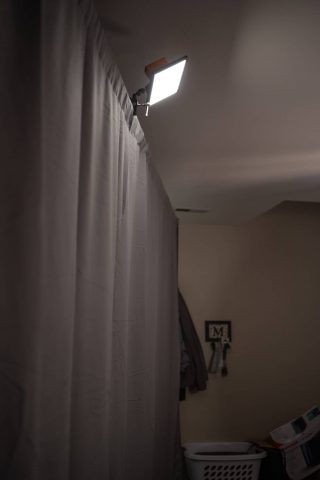
Back light - Also known in video as a rim, or a hair light, the back light helps to pull your subject away from the background. This is normally a more focused light then the key or fill light, and can be anywhere from directly behind your subject to 45 degrees off to one side or the other.
For my back light I will use either a GVM 480 without any modifiers and at about 30% of the brightness of my key light, or a VILTROX L116T at between 60-100% brightness.
Modifiers
What do I mean when I talk about a modifier? A modifier is anything you put in front of your light to modify its original output. There are a lot of options, but for this article we will mostly be talking about modifiers that soften the light.
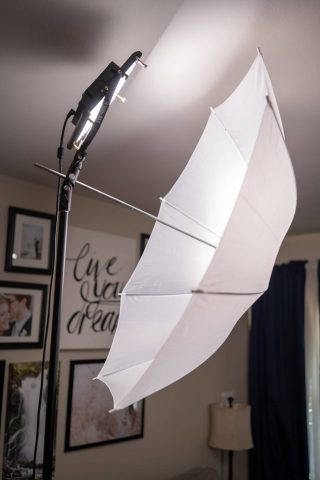
Options like a softbox, or umbrella are great if your lights support them.
Otherwise a translucent 5 in 1 reflector placed in front of your light works great as well (you can use a lighting stand with a clamp to hold the reflectors in place).
In a pinch you can also use a white sheet, or some translucent curtains and shoot the light through them to soften it.
Color Temperature
I am not going to spend a ton of time on the subject of color temperature and white balance, but I will link to some resources if you would like to dive deeper. I will try and only explain the relevant parts for you in the context of what we are working on today.
The basics you need to know is that the color of white light is referred to as its color temperature, and is measured on a scale called the kelvin scale. The two most common colors of light are Tungsten 3200k (think incandescent light bulb, more orange) and Daylight 5600k (closer to the color of the sun at noon, more blue).
5000k is normally referred to as pure white, higher numbers are more blue. Lower numbers are more orange because it has less color cast. Most people choose to use daylight colored white lights for filming unless you are trying to do something creative, or you need to film alongside normal incandescent light bulbs.
Here is a link to more info on color temperature.
https://www.cinema5d.com/what-is-color-temperature/
White Balance
White balance in simple terms refers to the color of white your camera is expecting to see. Ideally this should be the exact same as what you are using for your lights, or as close as you are able to get it.
Most cameras have different presets to choose from, and are also able to be calibrated with a custom white balance setting.
I highly recommend you use custom white balance, but the process is different for each camera so google your camera model followed by custom white balance (i.e. Sony A7iii custom white balance) for more information.
Here is a link to more info on white balance.
https://photofocus.com/video/dslr-video-weekly-white-balance/
Backdrop
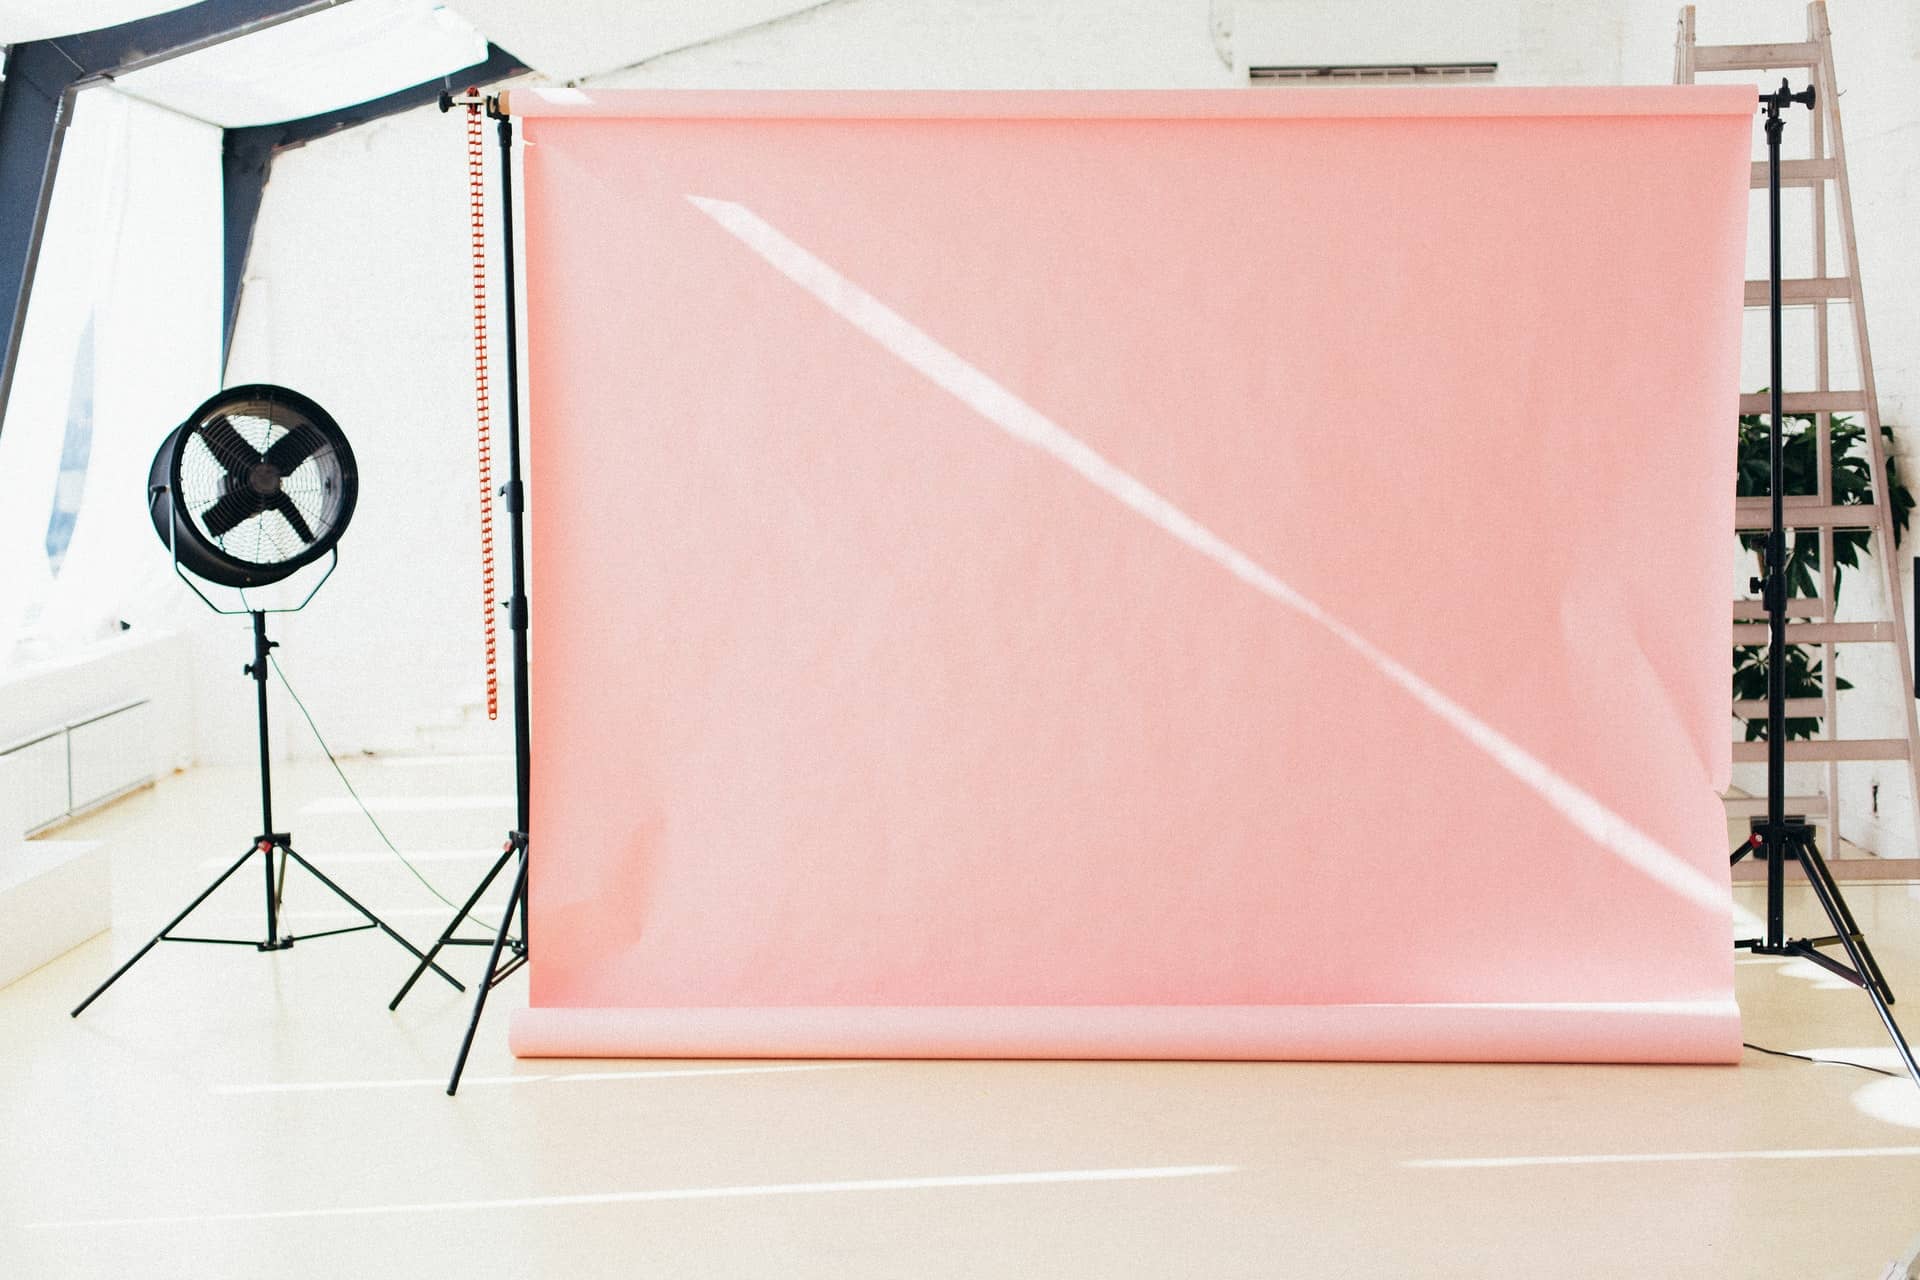
Your backdrop could be anything from a clean looking wall, a staged room, a cloth, or paper seamless backdrop. You may be limited on your background simply because it is the only area you can fit everything to film, so for this article I will use a 12’ x 10’ backdrop system similar to this one, with a grey cloth backdrop from Neewer.
Depending on the look you are going for, and the background material you may need to steam the cloth after you set it up to get rid of all the wrinkles. Let me say this is another reason I like paper seamless backdrops more than cloth. Paper also has a more solid look to it which I generally like more however it is much easier to store and travel cloth backdrops, which is why I own and use.
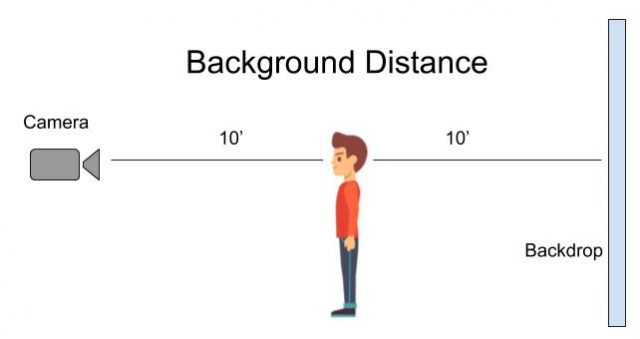
Now let's talk about positioning your subject in relation to your camera and your backdrop.
We can use some of the guidelines from the portrait photography world which generally state that 6-10 feet from your backdrop is ideal, and 4 feet is the minimum. I have also been told as a rule to have the same distance from your lens to your subject as you do from your subject to your backdrop.
This is for two reasons, you want your background to be a bit out of focus, and you want the background to be a bit darker, both help separate your subject from the background.
You can use a tool called DOF simulator at this link to see what the different distances and cameras/lenses do to your look. https://dofsimulator.net/en/
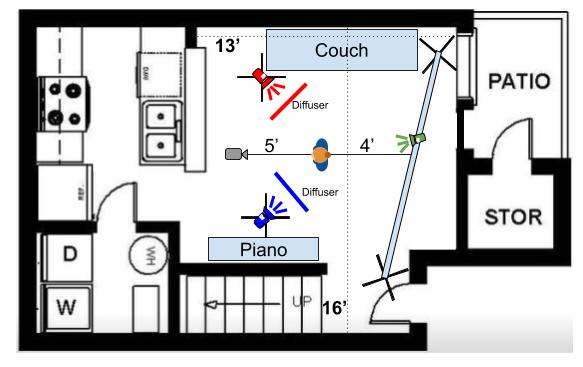
For my home studio setup I do not have the space for an “ideal” setup of a 20’ from lens to backdrop. My one bedroom apartment was not designed with a home studio in mind, and as you can see, I am only able to easily accommodate 8’ - 10’ from lens to backdrop.
I make it work for what I am doing, and the camera equipment I have (sony A7iii with a 35mm lens) but a bit more space would be helpful, and I would prefer to use a lens in the 50-85mm range for a softer background.

Real Life Example
Now that we have talked about what you need and how to set up your home studio, I want to show you what I do, with before and after shots. For these shots I did not take the time to steam the backdrop, as a reminder do that before you shoot anything real. I did that so you could see the difference from the photos (non steamed) and the video (after it was steamed).
This took me 15 minutes to setup the lights and backdrop, probably another 5 minutes to tweak some settings, and another 15 minutes to steam the backdrop. So in a total of around 35 minutes I was ready to shoot a video in my studio setup.
Lets start with a time lapse of setting everything up, and then I will share some different photos throughout the process, photos of the gear and how it was setup, and then finish with a finished video at the end.
Time lapse of the setup
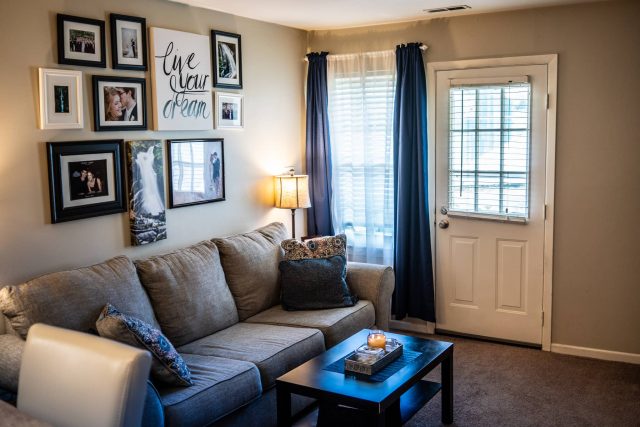
Here is my living room that I use for the studio. And what the shot looks like just with my normal household lighting, and no backdrop.
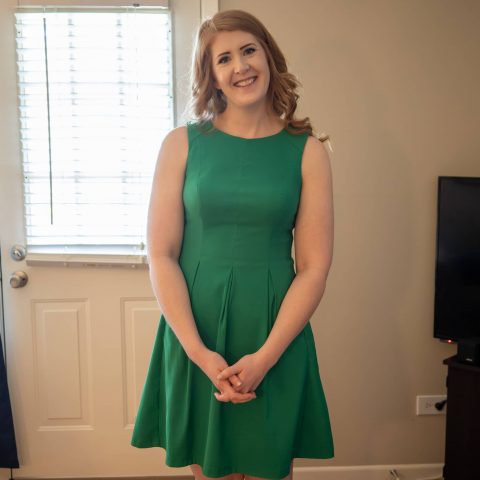
Here we have my lovely wife in front of the backdrop with just my normal household lighting.
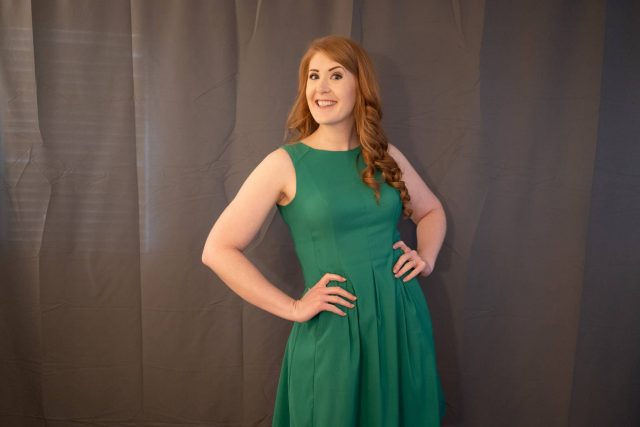
This is after I added the key light to the setup.
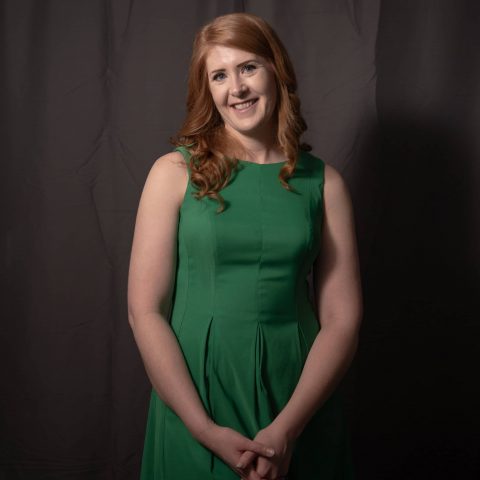
Here we have the key and fill lights setup.
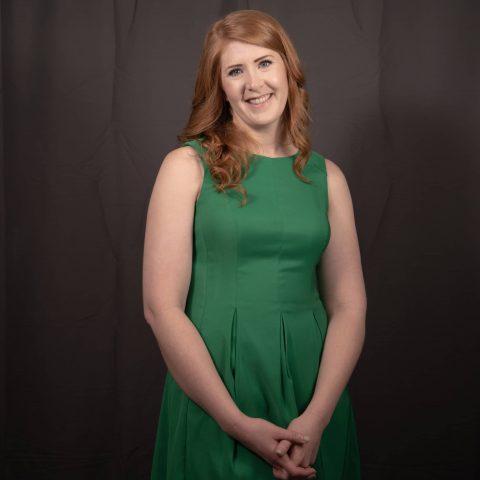
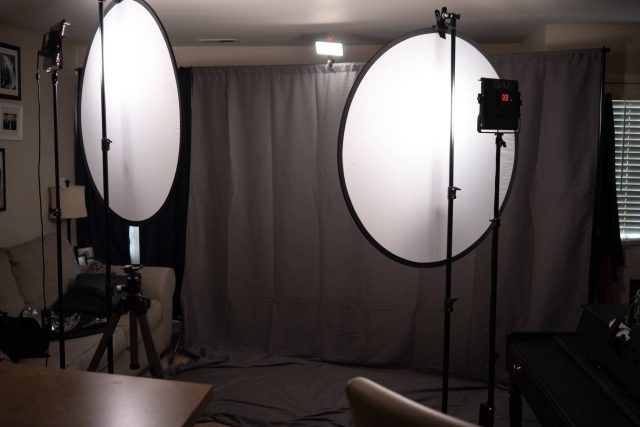
Here is the completed setup with the key, fill and back light setup.
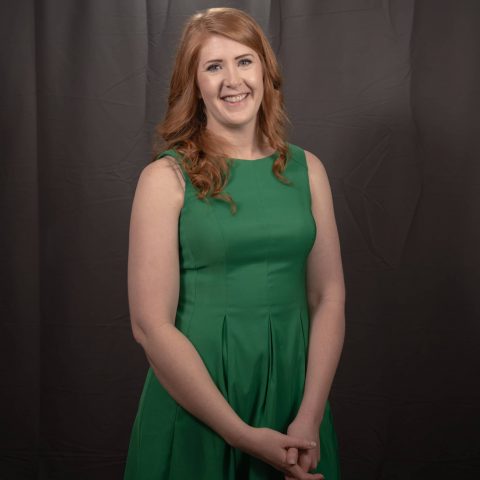
Lets take a look at the completed studio and how all the gear is setup.
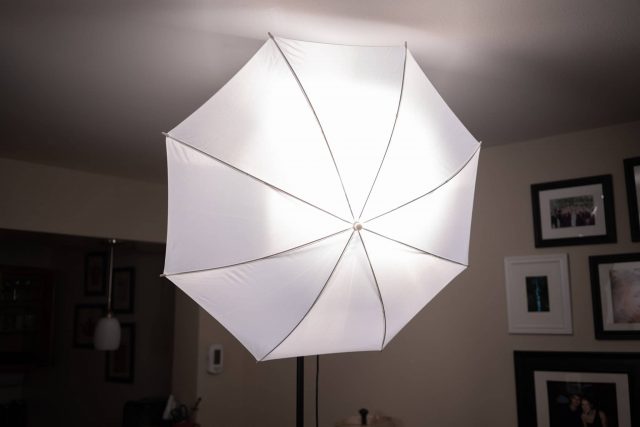
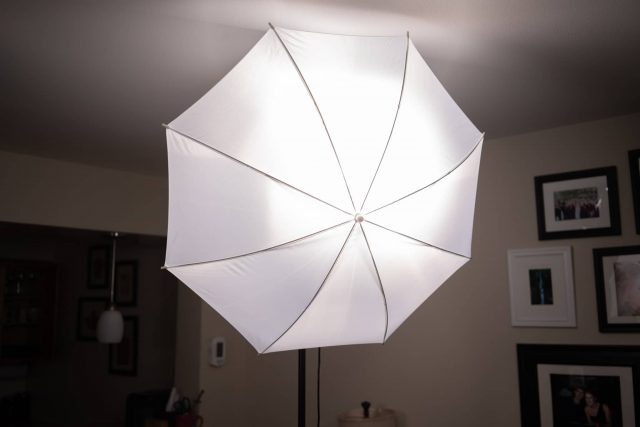
I also took a shot of an umbrella setup for anyone who wants to go that route.
Finally here is a video taken on the completed studio.
As you can see even with a less than ideal location we can make things look a lot better with a few lights and a backdrop. It's not always about the perfect setup, do the best you can with the budget and the space you have available to you. Try and use what you learned here and follow it the best you can and you would be surprised at how good you can make your space look.
For those who are curious about what I used in my setup I included a gear list below. These are not necessarily the best options for everyone, but it's the equipment I had available to me and it should give you a great place to start.
Thanks everyone for reading, and I hope this article helps you to take your filming at home to the next level!
Feel free to comment below with any questions you may have.
Gear List
Here is the gear that I used for this setup, the whole setup is a bit under $500 new.
Key Light ~$145:
GVM 480 LED Panel and Stand
Neewer 5 in 1 Multi disc
Neewer stand and clamp holder
Fill Light ~$145:
GVM 480 LED Panel and Stand
Neewer 5 in 1 Multi disc
Neewer stand and clamp holder
Back Light ~$48:
Viltrox L116 LED Panel
Smallrig clamp and double ball adapter
Backdrop ~$145:
Impact Background Support System(closest i can find to mine)
Neewer 10 x 12 grey backdrop


