Let's start by talking about locations around your home you can use for filming.
Don’t just sit at your kitchen table, or on your couch without thinking about a few things first.
You need to think of both your background, (What is behind you) as well as any ambient or natural light available at your location. You also need to listen to any ambient sounds or echoes that exist in the room. (Don’t record next to your running dryer) This is a good chance to stage a space, or remove any unwanted pictures, dirty clothes or things lying around.
Things to look for:
- A non-distracting background, no complex patterns or messy rooms.
- Ample Quality light coming from behind the camera.
- No Strong back lights or windows behind the subject.
- A quiet room with enough furniture in it to dampen echoes.
There are a ton of great options around the house that would make a quality stream or video, and it's also really easy to find distracting video locations around the house, knowing what to look for is key.
For some further recommendations on how to set up a great looking background check out the articles below.
Here are some links that can help you find or make a nice backdrop.
https://wistia.com/learn/production/choosing-a-background
https://alexarohn.com/optimizing-natural-light-video/
Examples
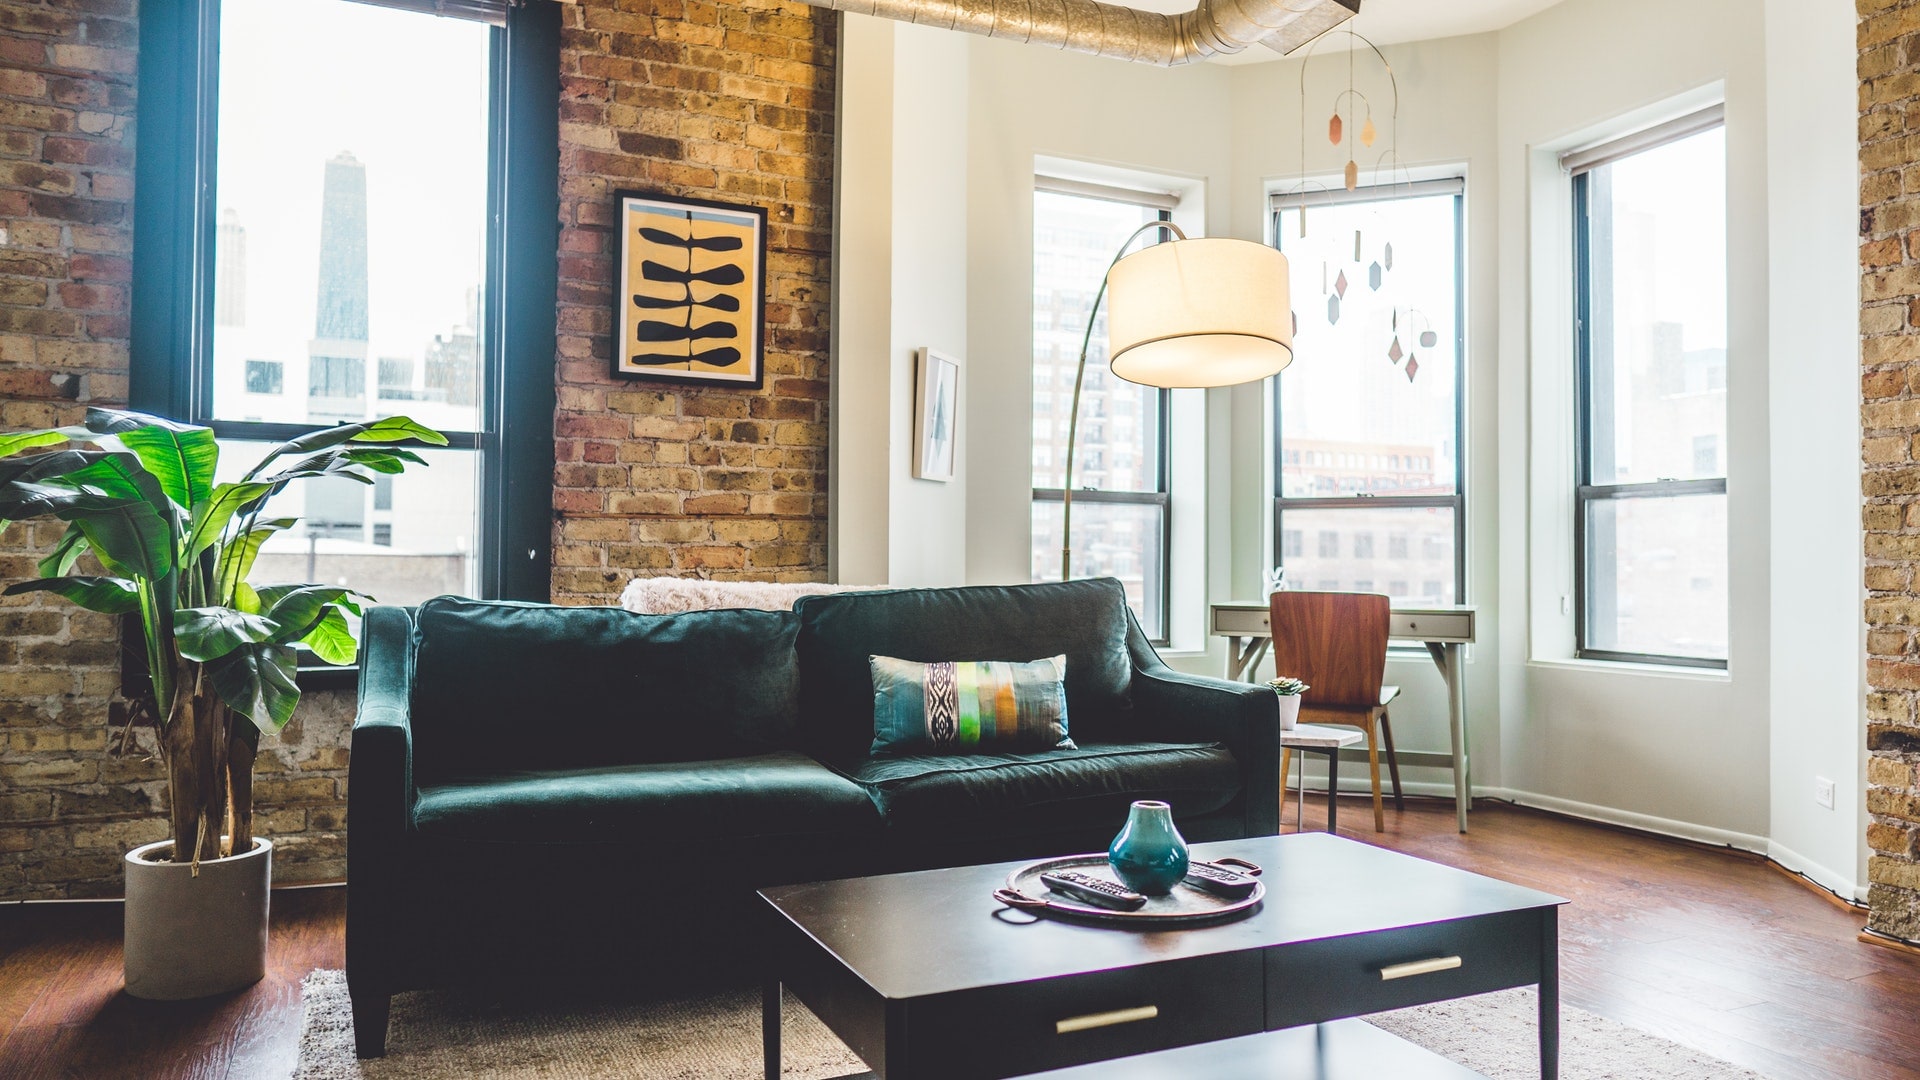
Here are four locations I found in my small, one-bedroom apartment that could be good filming locations, more on how I set up the space later. I have chosen three separate camera options to show you what each will look like and how they look in the different locations.
The first location is more of a sparse camera setting, the second is more of a comfortable setting, the third is a staged location and the last is from a work space location. I used an Android Phone(OnePlus 5T) , a laptop web camera(Macbook) and a Sony mirrorless camera(A7iii with samyang 35mm af Lens) and did image captures from the video files for the comparisons.


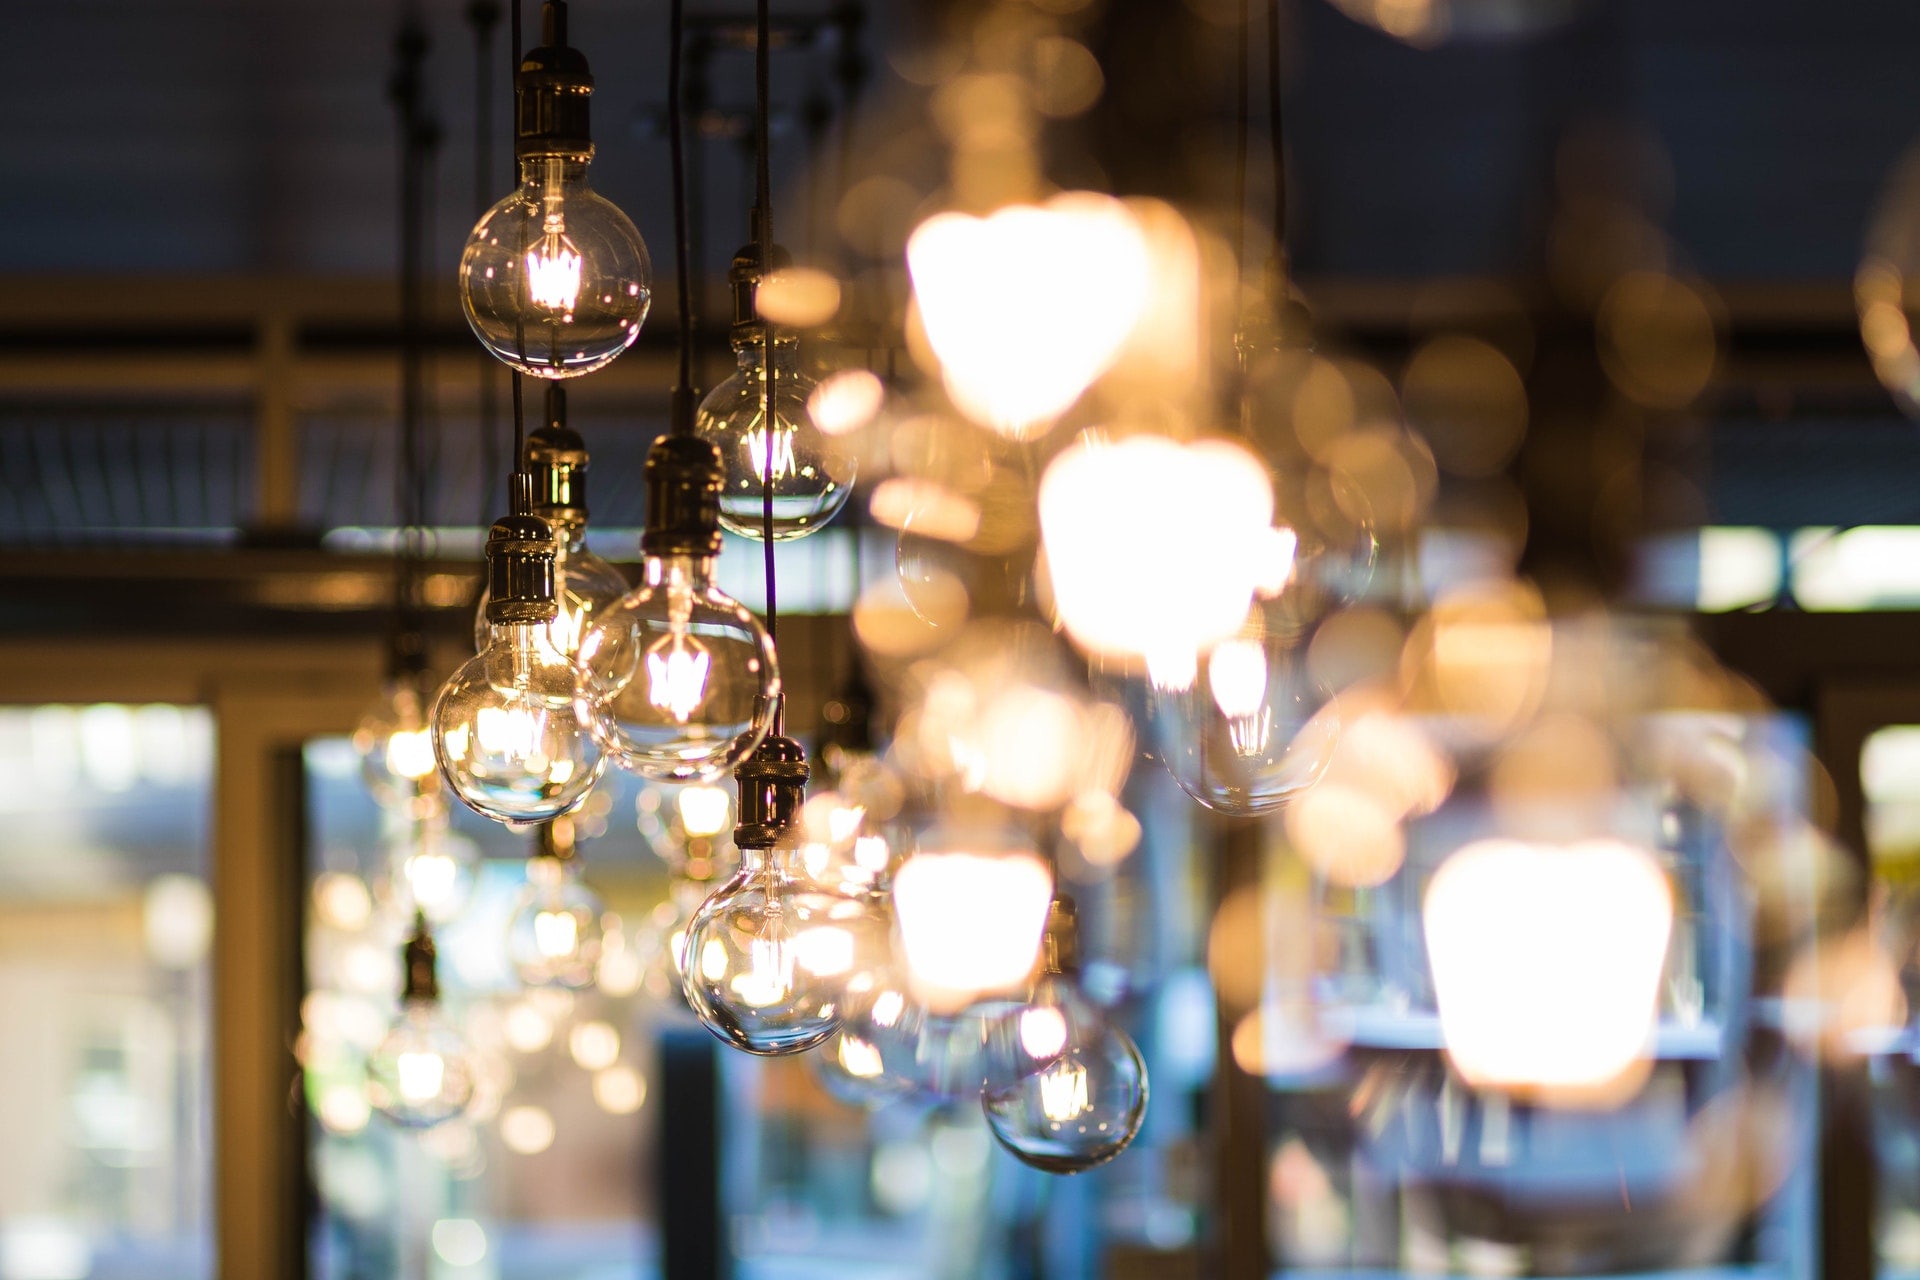
Lighting can be super simple or super complicated depending on what you have available to you. Natural light is always the best option if you don’t have fancy or expensive lights. Sit next to a window, or door or under rooftop sunlight. If you don’t have sunlight, this is an opportunity to gather lamps, or lights from around your home. (Try and select lights that are the same color temperature)
If you are wanting to invest in some cheaper lights to help enhance your videos I will have some linked at the bottom.
Examples
Chair
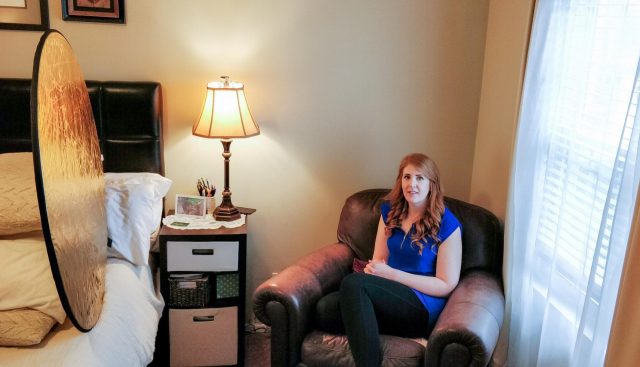
Let’s talk about natural light first. If you have natural light try and diffuse the light coming through your window with blinds, a white sheet, or a light modifier. In my case I have a sheer curtain on my window so I used that to diffuse the light. It was a pretty overcast day as well, so that made it easier too. Depending on your window location you may need something to reflect the light back to your face, otherwise known as a bounce card. This helps alleviate shadows on your face or in the video shot. Here I used a 5 in 1 collapsible reflector on the gold reflector side, but you can use something as simple as a piece of white foam board.
There is a window to the right side of the frame, and a bounce card on the left side of the frame filling in some of the shadows.
Couch
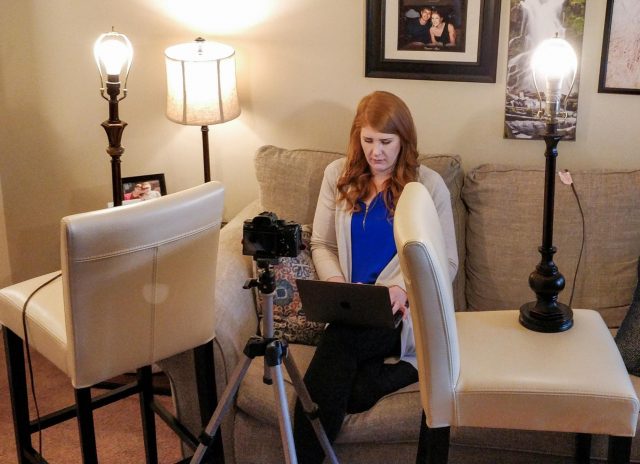
This location is in my living room on the lower level of my apartment and it tends to get little to no natural light during the day so I needed to augment the light with something else.
Here I grabbed a few lamps from around the house, and put them close to my subject and used some stools to get them to around head height.
As a note, when using lamps it's best to use incandescent bulbs, not LED or fluorescent bulbs to avoid getting flicker, or horizontal banding in the video from the lights. (Here is a video explaining horizontal banding and how to fix it) The basic fix is If you are seeing flicker or banding, adjust the shutter speed to see if you can get it to go away. Try a shutter speed of 60 if you are in the US as a start, and adjust from there. (you will need an app on your phone that lets you change the shutter speed for this)
Desk
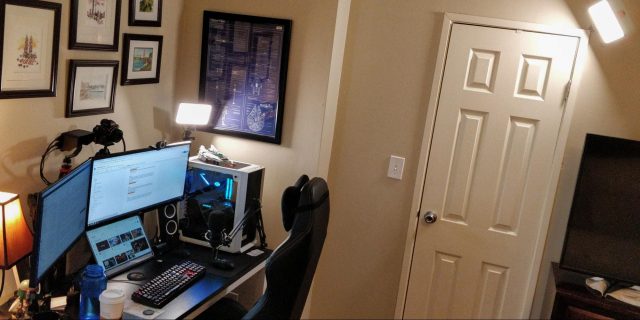
I have a semi-permanent streaming setup at my desk that uses 2 cheap viltrox video light panels. One is located on an arm attached to my desk, and one behind me attached to the wall just above door height as a back light.
Piano
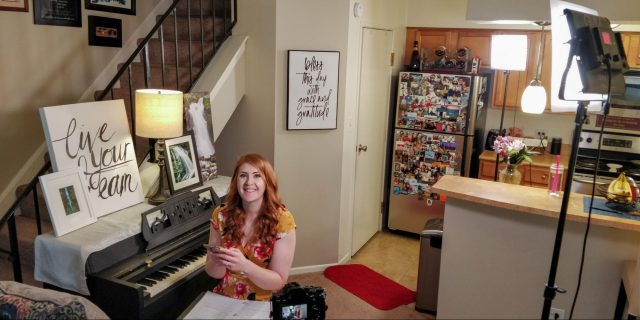
This location is also on my lower level with less natural light. Here I have two GVM 480 led Video Lights one for a key light and one for a back light. The back light is just off frame in the kitchen and the key light is at about a 45 degree off axis from the subjects face off to the right side of the frame.
A Few Cheap Options For Better Lighting:
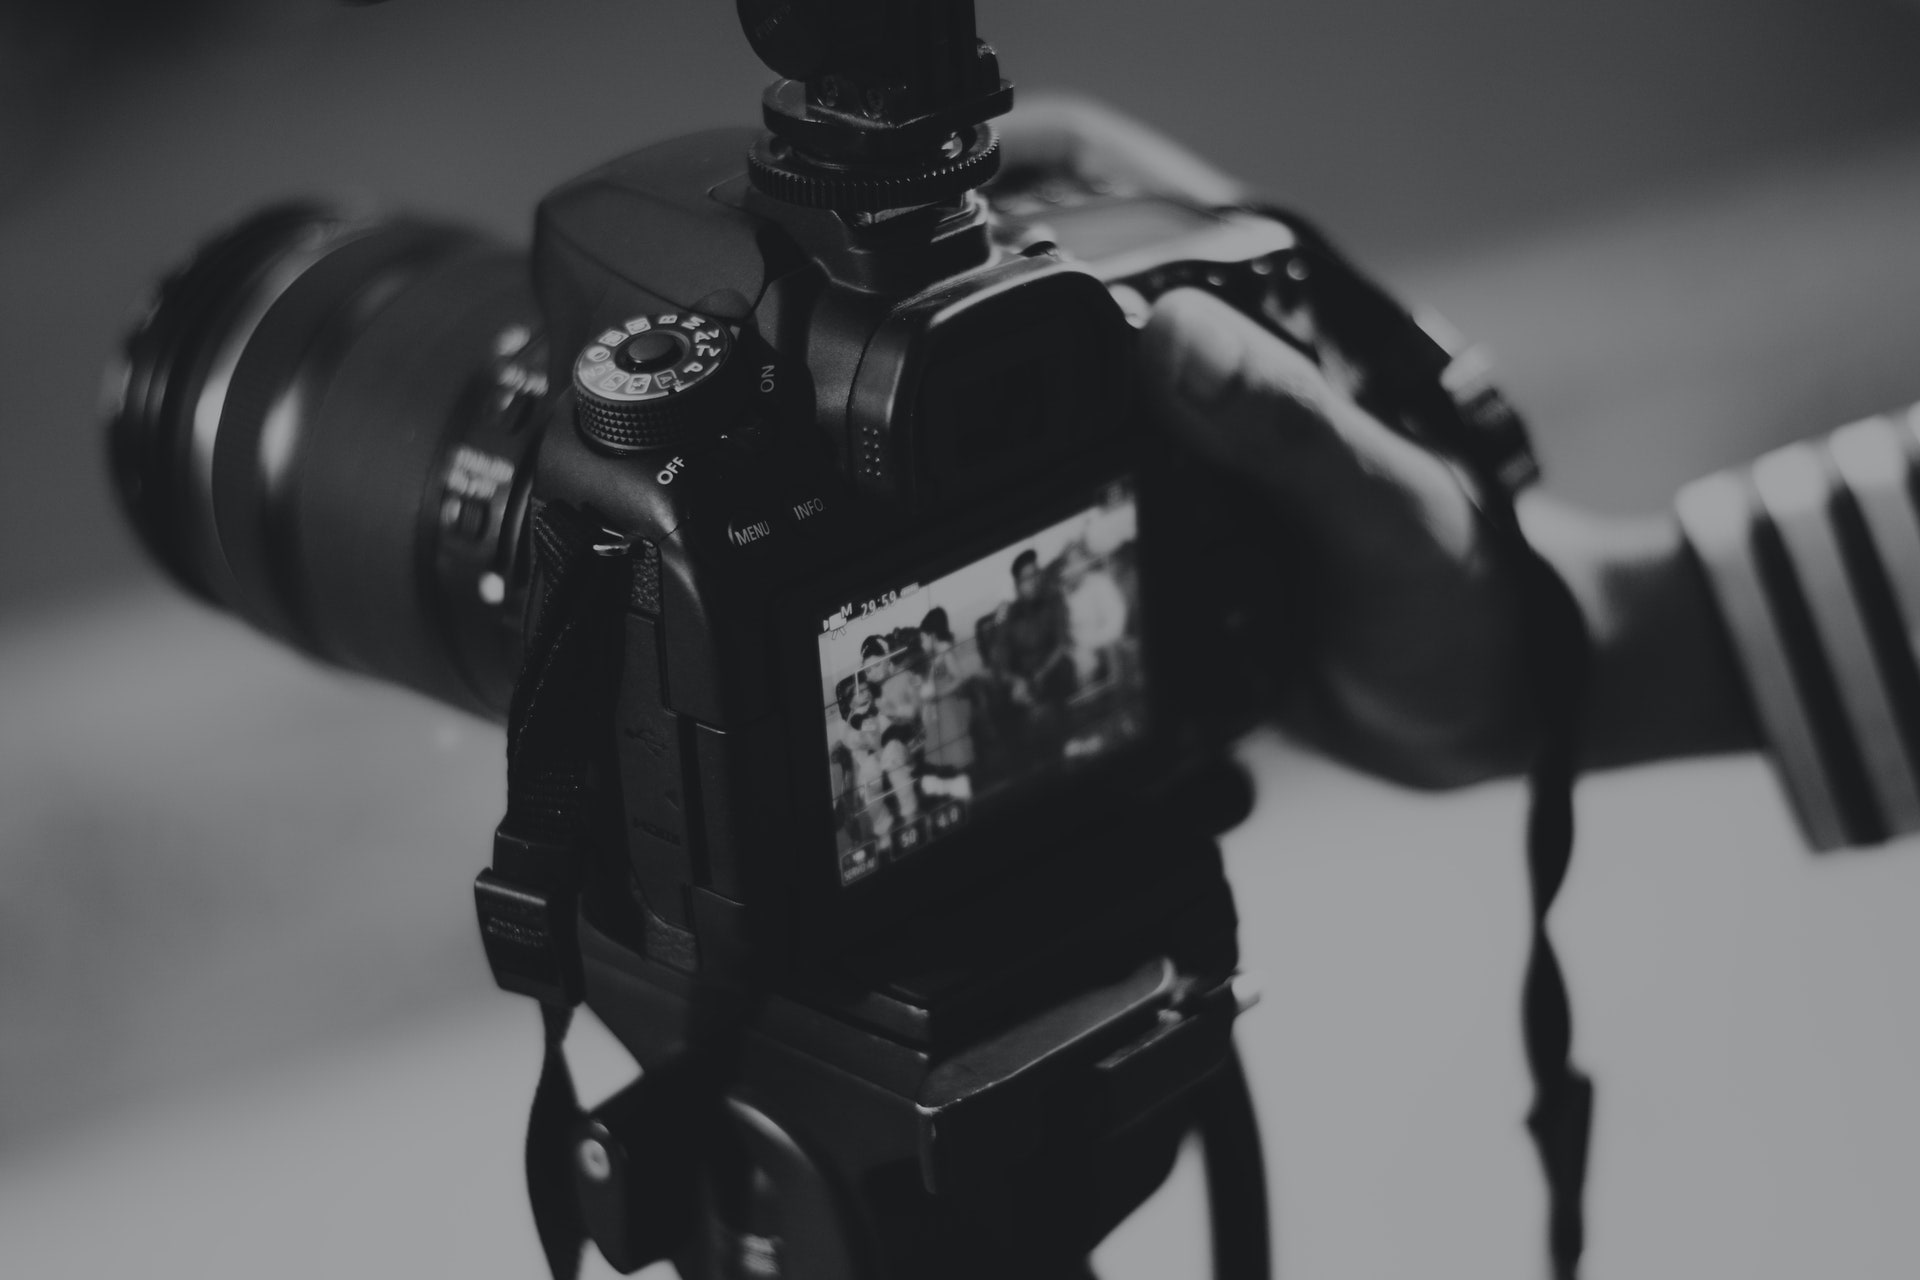
 Now let's talk about how we are capturing videos, as well as some tips and tricks to help.
The most widely available tool for capturing video is your cell phone. If you have a relatively new smart phone either iPhone, or Android, you should have a pretty good quality camera. However cell phones cameras can be limiting. Downloading an app like Filmic Pro can allow for more control and better image quality.
Here is a link to Filmic Pro’s tutorial section if you want to dive in to learning more.
https://www.filmicpro.com/videos/tutorials/
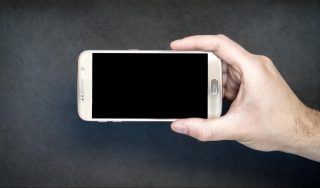
Here are some pros and cons for cell phone filming.
Pros:
- It is very accessible
- Decent quality cameras under the right conditions.
Cons:
- Generally needs better/brighter lighting to look good.
- Apps that ship with phones are limited.
Tips and Tricks:
- Make sure you clean your camera lens off, they tend to get pretty gross throughout the week
- Don’t use the selfie camera if you can help it. The rear facing camera on a phone is normally a higher quality. You may need a family member or tripod to help monitor the video in this case.
- Smartphone cameras are heavily affected by light. In general the brighter the scene the better the quality of your video.
- Turn your phone on silent or do not disturb so you don’t get any interruptions. (Notification beeps, vibrating during recording, etc)
- Try to use the same color of light for all of your lighting sources.
- Make sure to get your lens as close to the eye height of your subject as you can, no one wants to look up your nose while you are teaching.
- If you have a tripod use it! Otherwise, try and make something to hold your camera steady for you and at the right height. Here are some links to tripods you can make for a phone with household items. https://fixthephoto.com/diy-iphone-tripod.html
 In general, film everything in 16x9 and landscape(horizontal) not portrait(vertical). Most platforms are expecting content in landscape. The one exception to that is if you are putting it only on instagrams IGTV platform.
If you need a tripod, something like the FotoPro uFO2 tripod. is great for not only holding a camera, but also a light, or a microphone. I like that you can either use it like a small tripod or wrap it around a pipe or a railing to attach things in places they shouldn’t normally go.
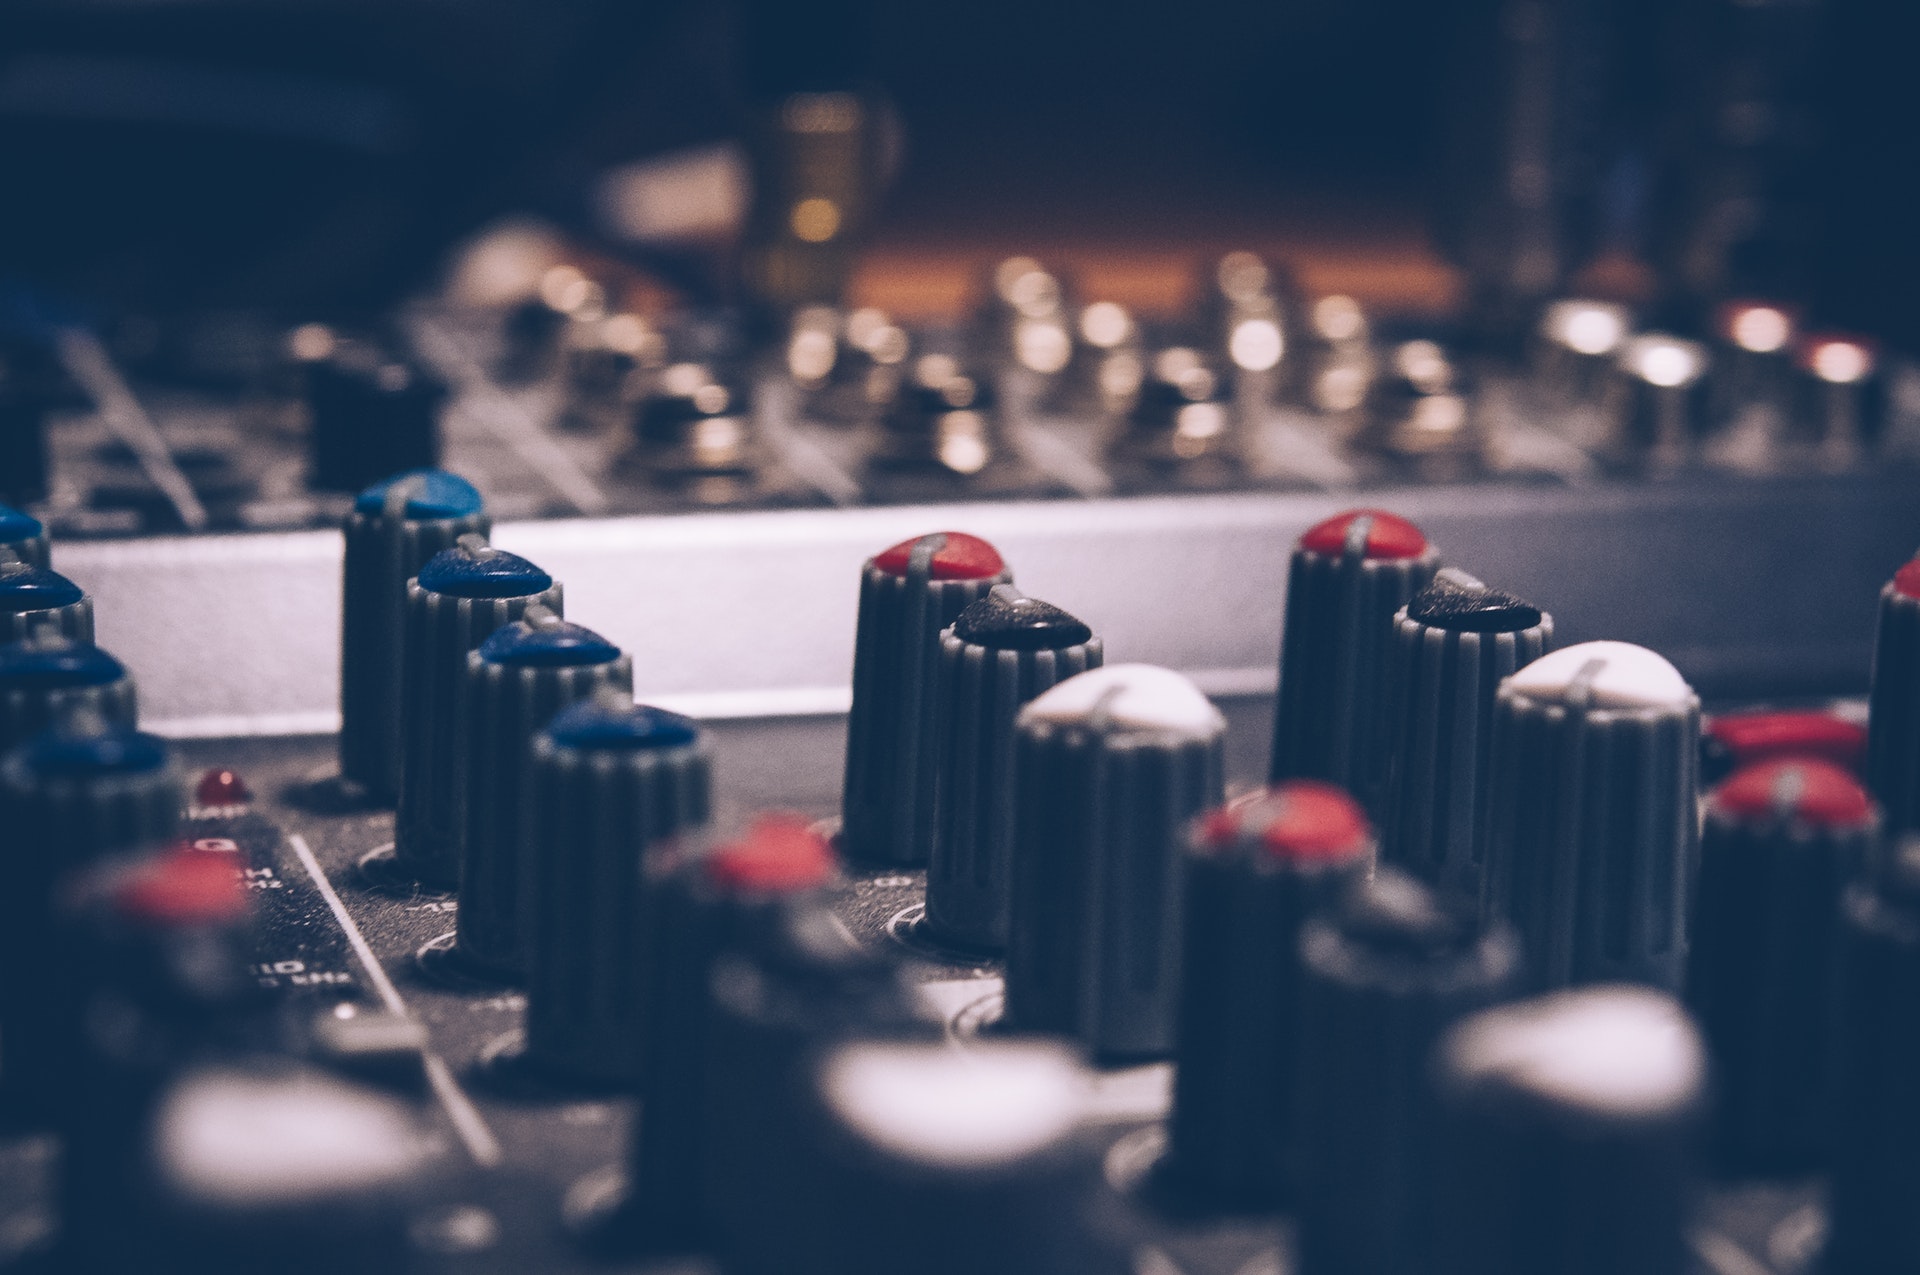
As much as it pains me to say it as a lighting designer, sound is one of the most important aspects of communicating.
Sound can also be extremely difficult to “fix in post” meaning we need to try and get it right the first time.
We need to think not only of our locations for how they look but also how they sound. A big empty room is going to have a lot of echoes so better to choose a different room or hang some blankets around to absorb some of the reflections. Think about things like fans, air conditioners and refrigerators that can add noise to your recordings, and either move away from them or turn them off while recording.
In general, it is also helpful to have your recording device closer to your subject. A set of good bluetooth headphones can be helpful in a pinch to get your mic closer to you when recording with your phone. (As a note, some of the video apps that come with your phone do not let you use bluetooth headphones, and you may need to use something like Filmic Pro for iOS and Android)
Once you have a location and audio setup, record a test video and listen back to it to make sure everything works and sounds as you want it to before recording your actual content.
Here is an article talking about using airpods for recording audio on the iphone:
https://www.provideocoalition.com/use-wireless-apple-airpods-mic-for-shooting-standupsmonologues-with-your-smartphone/
As previously stated, my expertise is more in lighting and video, so I asked a few of our audio wizards around Willow to help me out with some free tips and tricks for making audio sound better from your phone or camera.
Dan Smith:
- Don’t set the phone on a hard surface.
- It is best if you can have it in the air on a stand.
- Make sure you clean the microphone port. I use a toothpick. Lots of lint gathers there.
- If there is any way to put a pillow or blanket a little ways behind the phone that can help with reflections.
Ivan Talamantes:
If you need to up your audio game from your phone and support more inputs, or to be able to record instruments Ivan recommends the Roland go mixer for either iOS or Android
Recording Audio in FiLMiC Pro
FiLMiC Pro supports audio capture using any of the iPhone’s internal microphones as well as external 3.5mm and compatible lightning microphones.
Audio settings can be configured under Settings > Audio. Here you can specify the input source and recording format and sample rate. FiLMiC Pro will use 48kHz by default as it is the standard sample rate for video production.
If editing in Adobe Premiere Pro we recommend using AAC as your audio format, as Premiere has bugs associated with AIFF and PCM audio.
The audio input gain slider is integrated into the Time Code Medallion and can be adjusted by dragging the white line in combination with the VU meter in order to set correct levels:

For best results, we recommend recording a guide track using the iPhone’s internal microphone, and using a dedicated external audio recorder/microphone for your main audio.
NOTE:
- External microphones should be connected after launching FiLMiC Pro.
- If a microphone is disconnected during recording it will result in audio sync issues.
Links with some more info:
https://www.imore.com/how-get-good-audio-while-shooting-video-your-iphone
More information on the Roland Go Mixer:
https://thenextweb.com/plugged/2018/11/19/rolands-gomixer-pro-is-a-youtube-musicians-best-friend/
Cell Phone Mic Options:
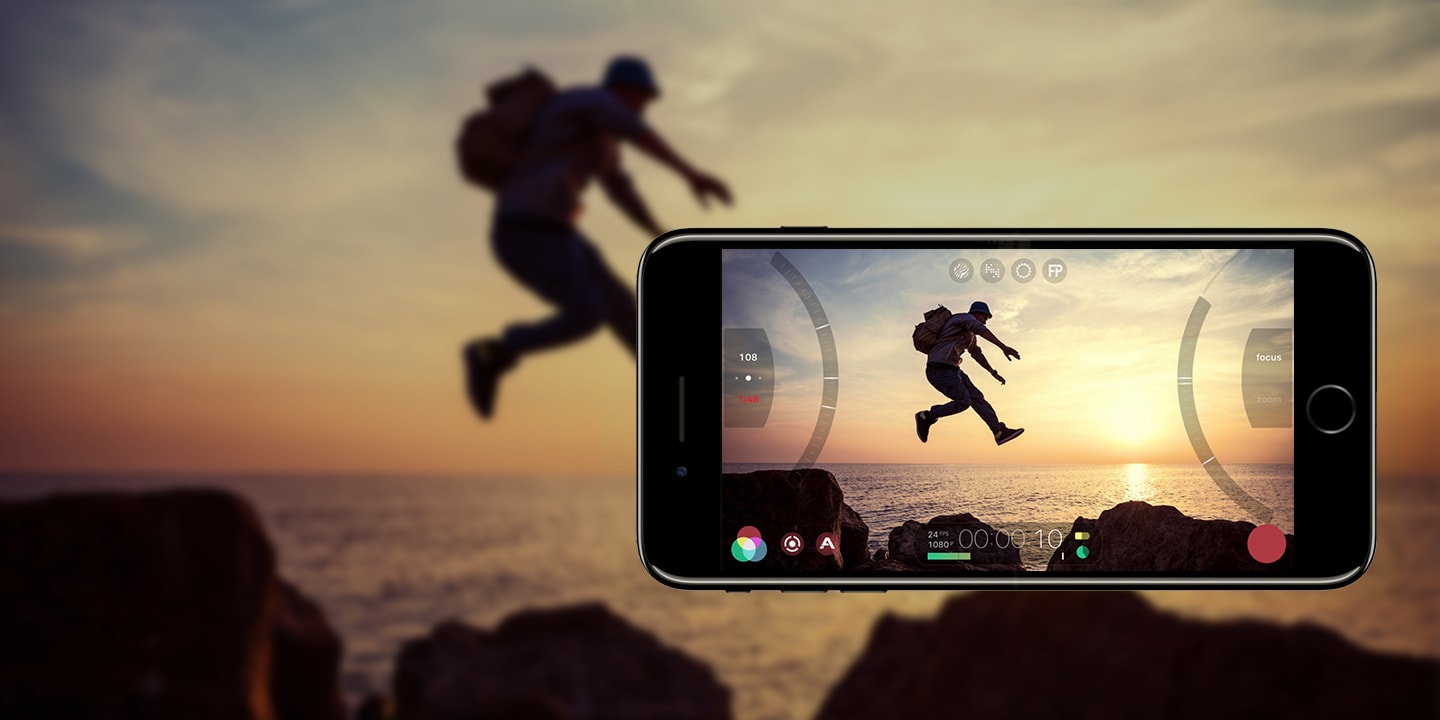
Let's talk about the settings you should change before you start recording in Filmic Pro.
First we need to change the record resolution.
Please do not use your selfie camera to film. The quality is significantly less than the main camera, and If your phone is like mine, the selfie camera will only record HD, and we need to record in 4K.
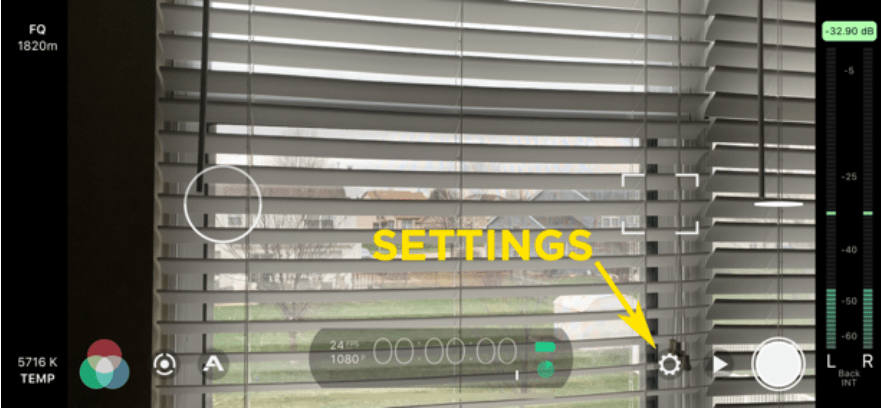
You should see 24 FPS 4K at the bottom-middle of your screen if you’re setting are right.
Resolution
Tap the settings cog wheel in the bottom right corner of the screen.
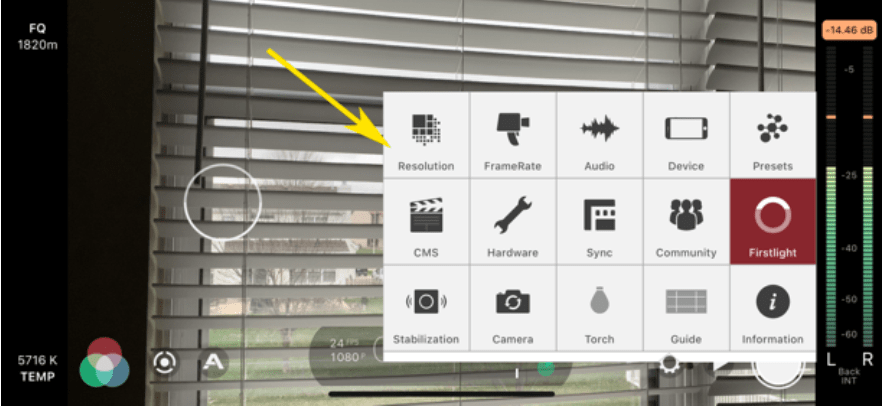
and then tap the resolution button.
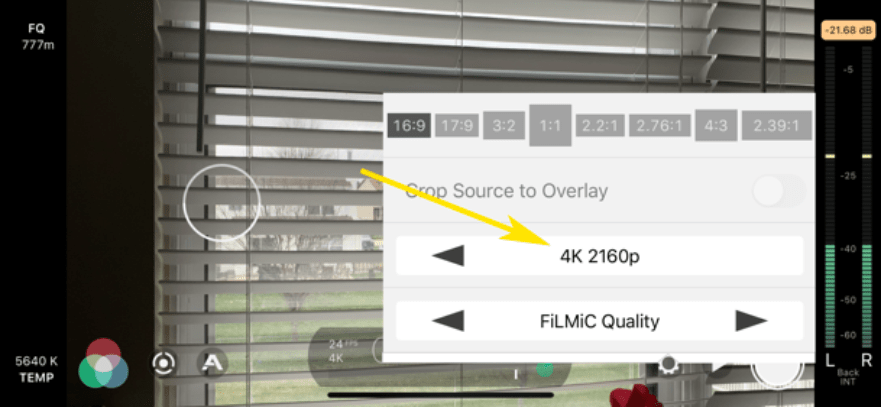
Then change the Resolution to 4k 2160p
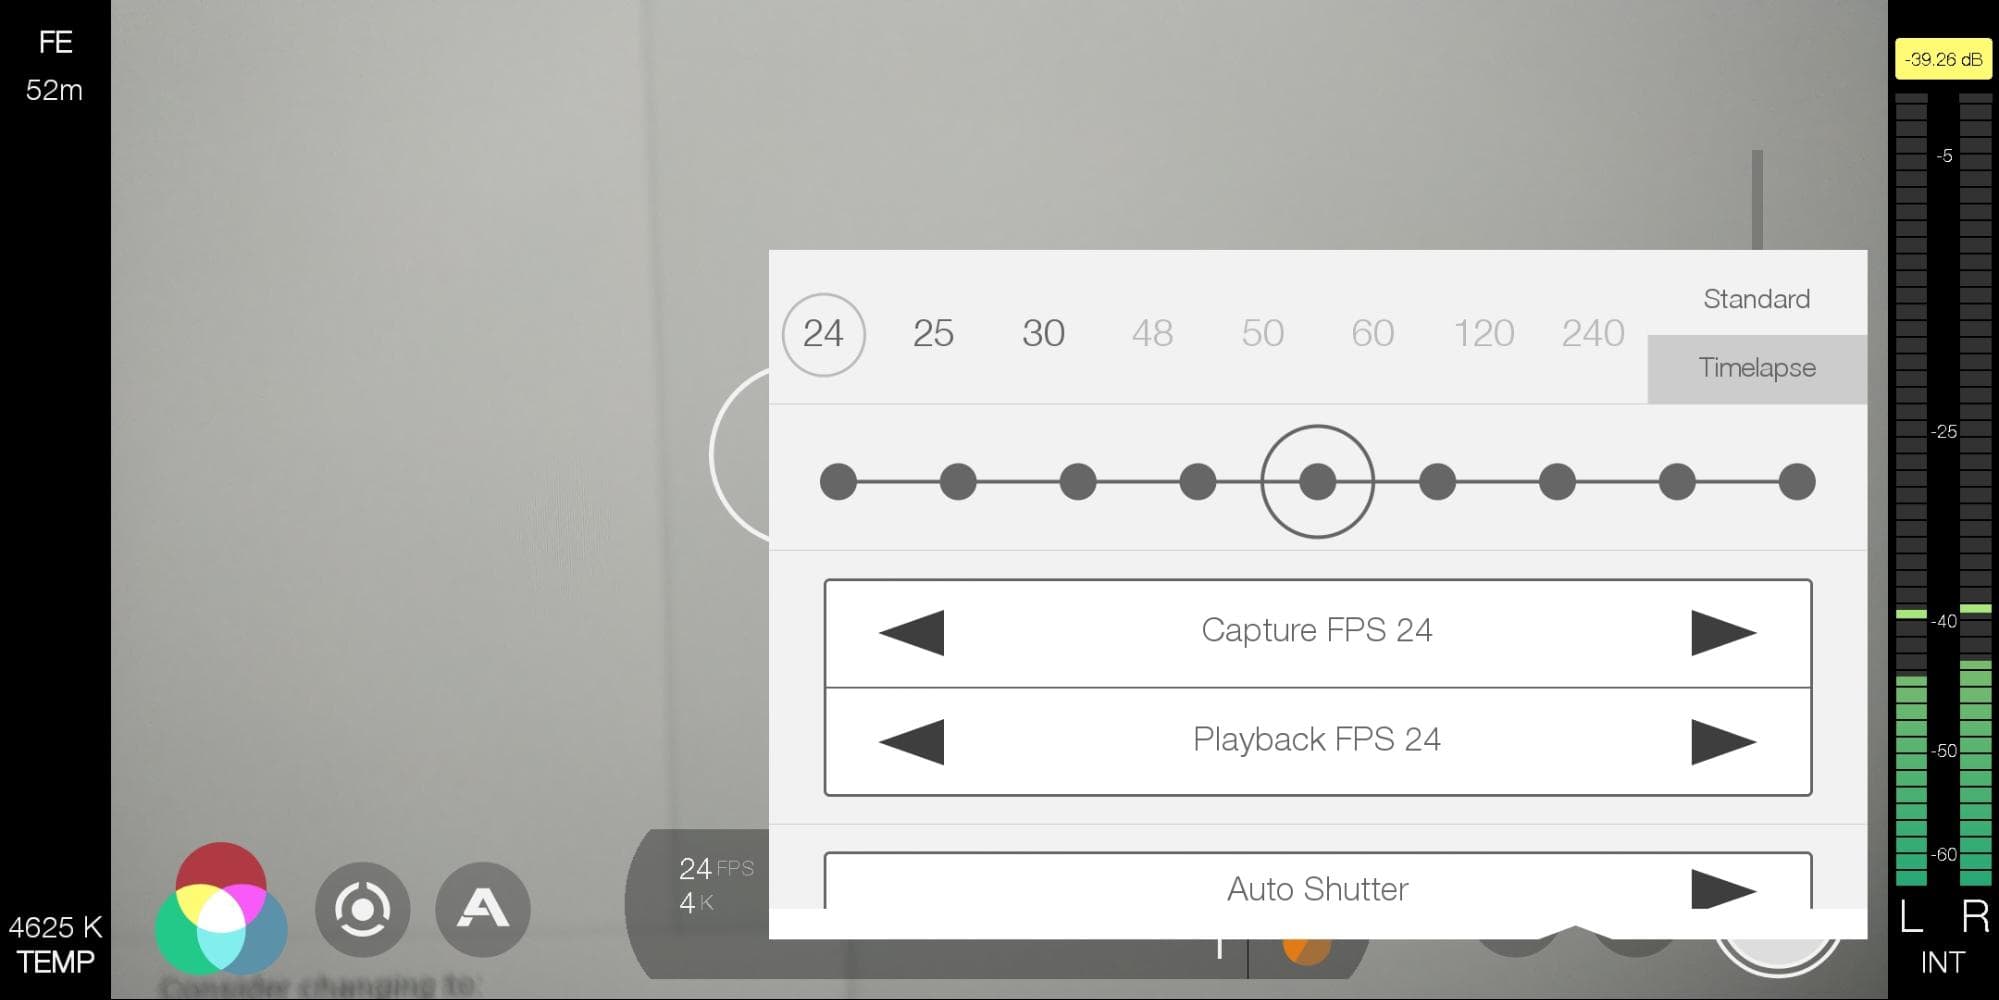
Now verify that the frame rate is set to 24fps, tap the screen anywhere outside the settings menu to go back to the main settings page, then tap on the framerate button
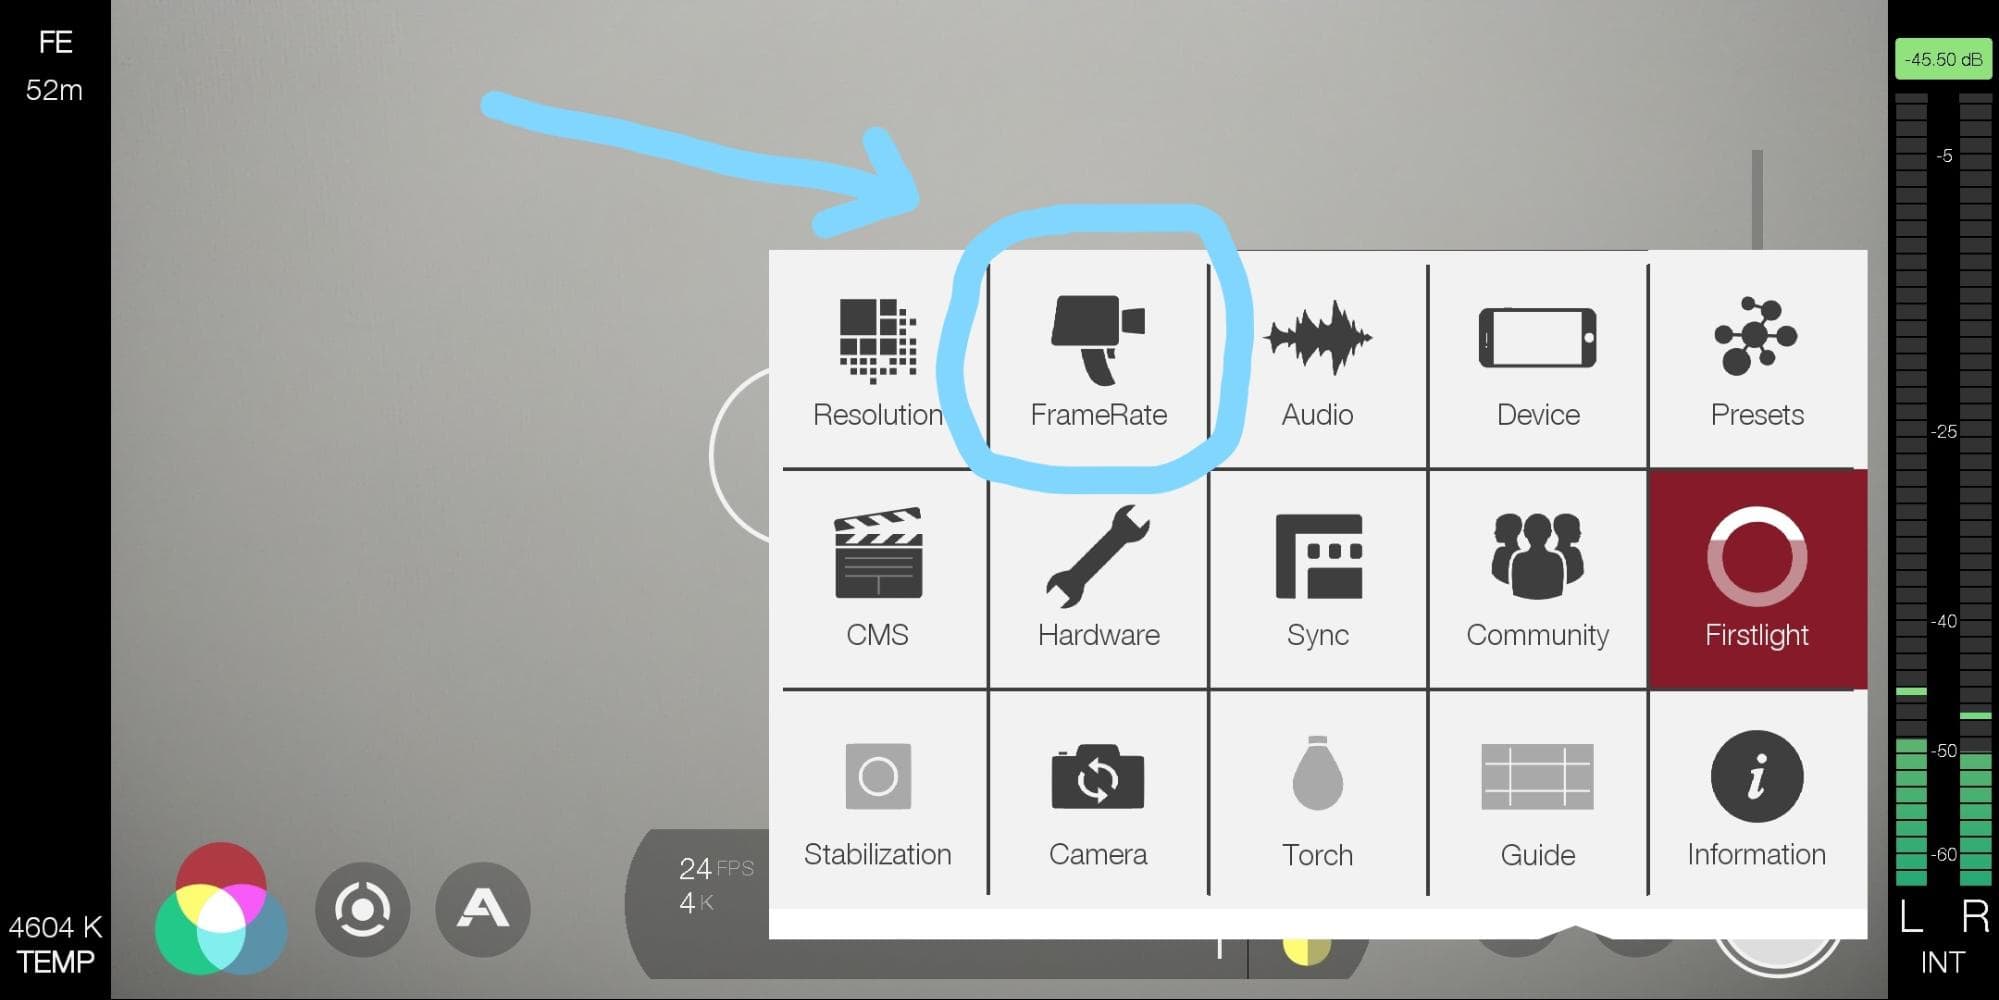
Make sure it is set to Capture FPS 24, Playback FPS 24, and Auto Shutter.
These should be the default settings but just verify they are correct.
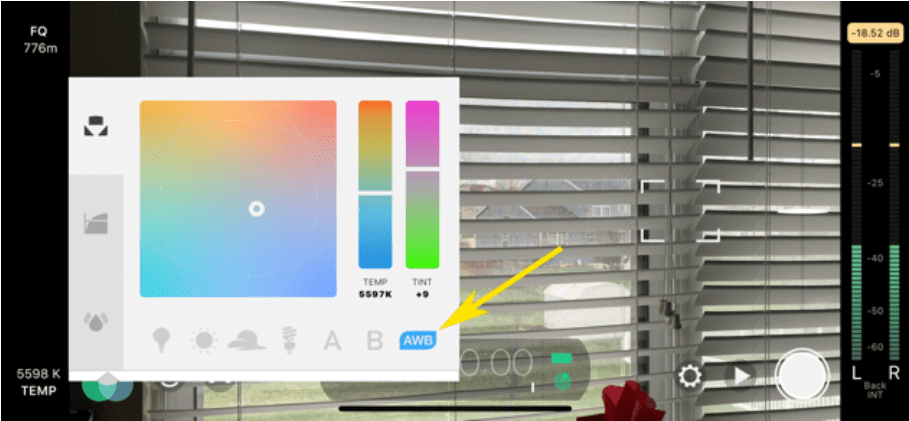
Color temperature
We want to set the color temperature and lock it so it does not change while recording.
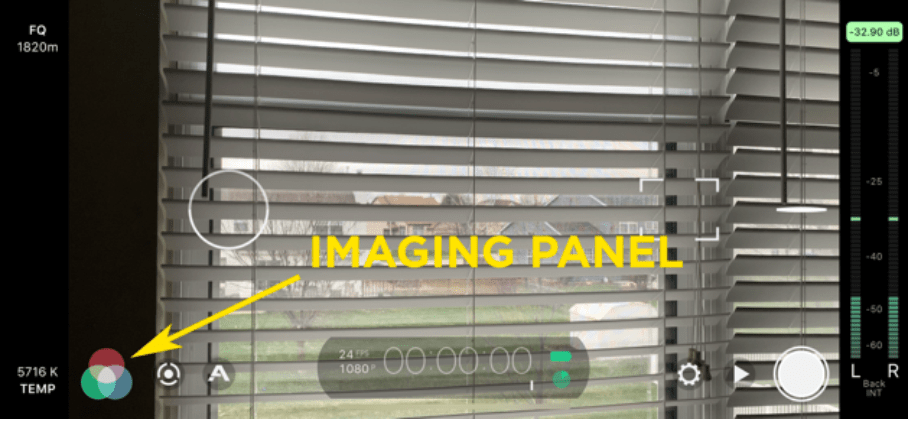
So once you are set up and ready to film and pointed at your subject, or location, select the Imaging Panel in Filmic Pro.
 Then tap the AWB button to turn it red, this will lock the color temperature.
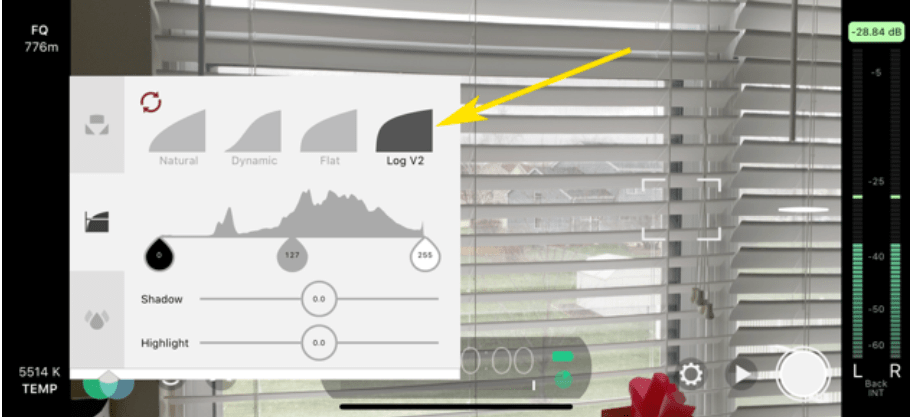
Tone Settings
Now staying in the imaging Panel, select the second tab on the left side to select the tone menu.

Then Select Log v2 at the top of the panel.
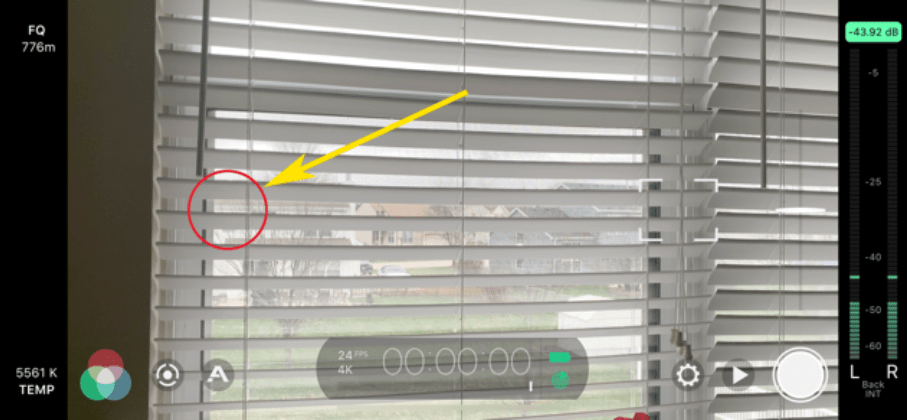
Exposure
The circle on the left is what the app will use to adjust brightness. Drag it to where your face will be. It is helpful to have someone to help you for this step, you can stand in place and then can move the circle and then tap it to turn it red locking the exposure.
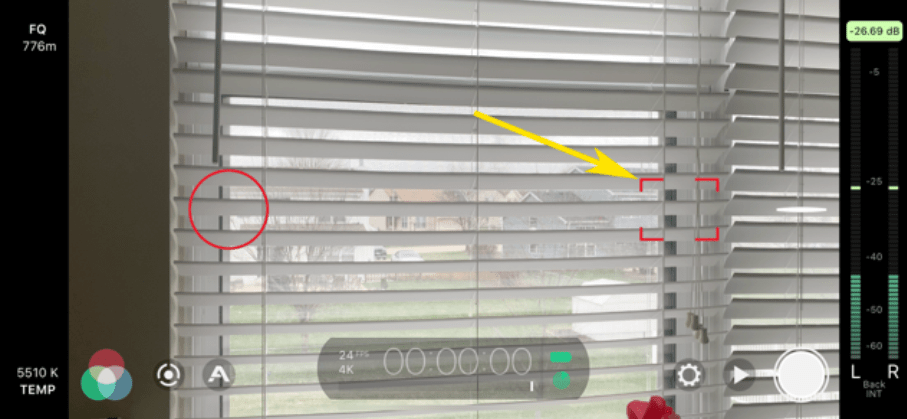
Focus
The square on the right is what the app uses to set its focus. Drag it to where your torso will be. Again, if you have someone to help you, stand in place and ask them to touch the square so that it turns red. This locks focus. IMPORTANT: if you’re working by yourself, don’t lock focus on the wall behind where you will be standing. Either focus on something else the same distance from the camera or just leave the focus unlocked (white square) where you will be.
If you have any questions or need help, please contact Jordan or Darren
For more information and articles on filming with Filmic Pro head to https://filmicpro.helpscoutdocs.com/
Manual Mode
The following video explains how to setup and use manual focus and manual brightness modes in filmic pro.
Use these modes if you are having trouble getting auto brightness and focus to look correct. Or if you have been asked to do so by Darren or Jordan.